Machines that make machines / Prusa MK4

Building the printer that prints the next problem.

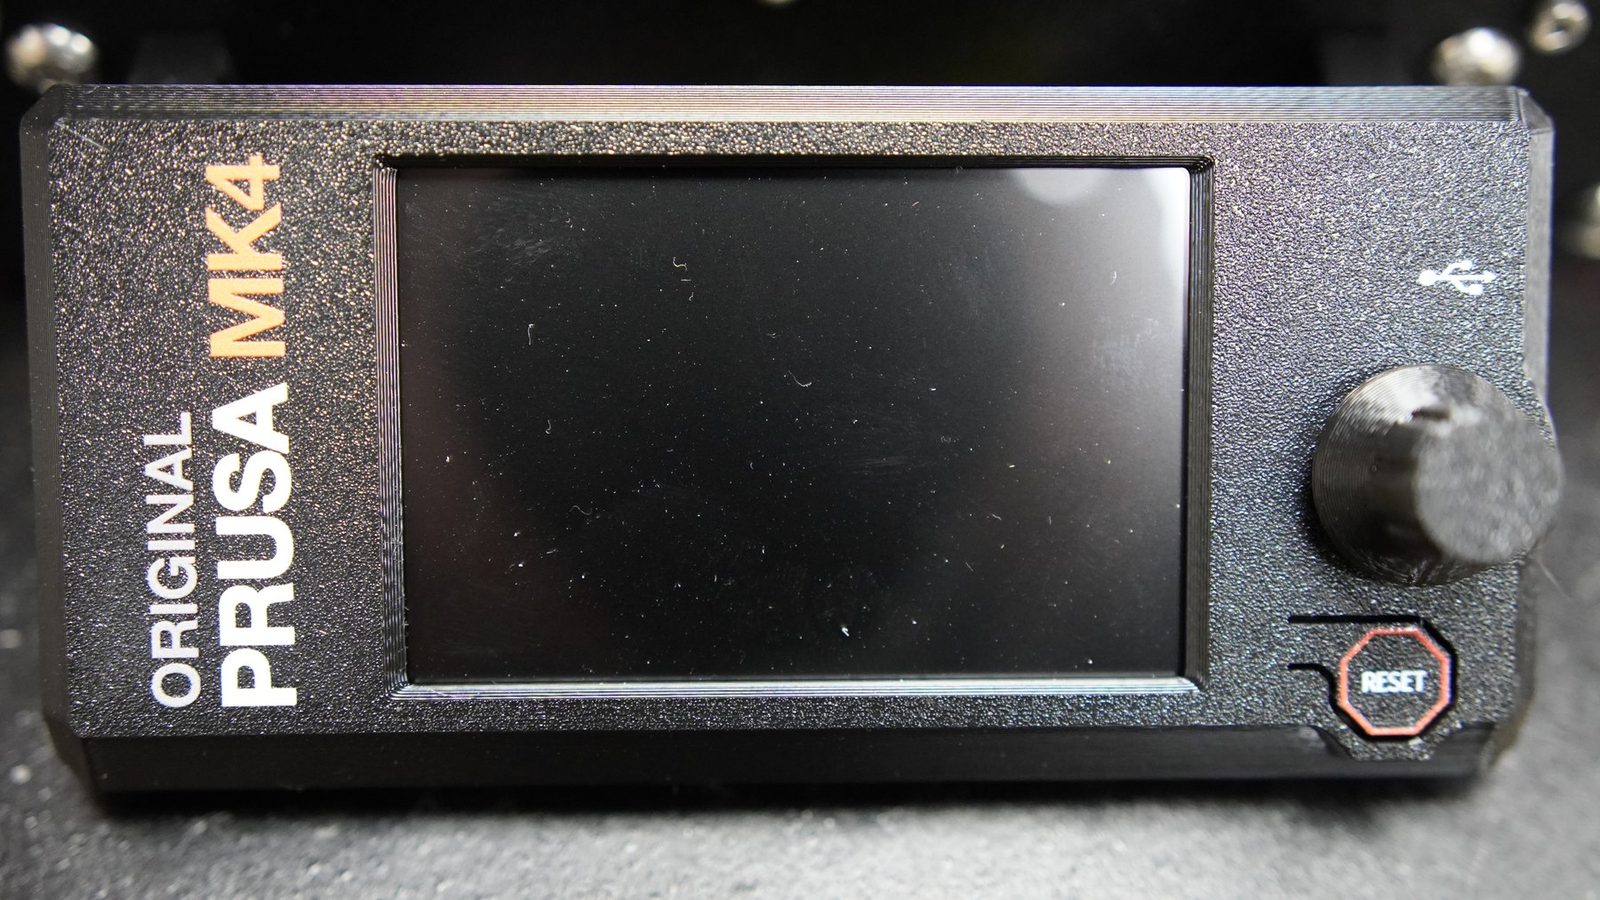
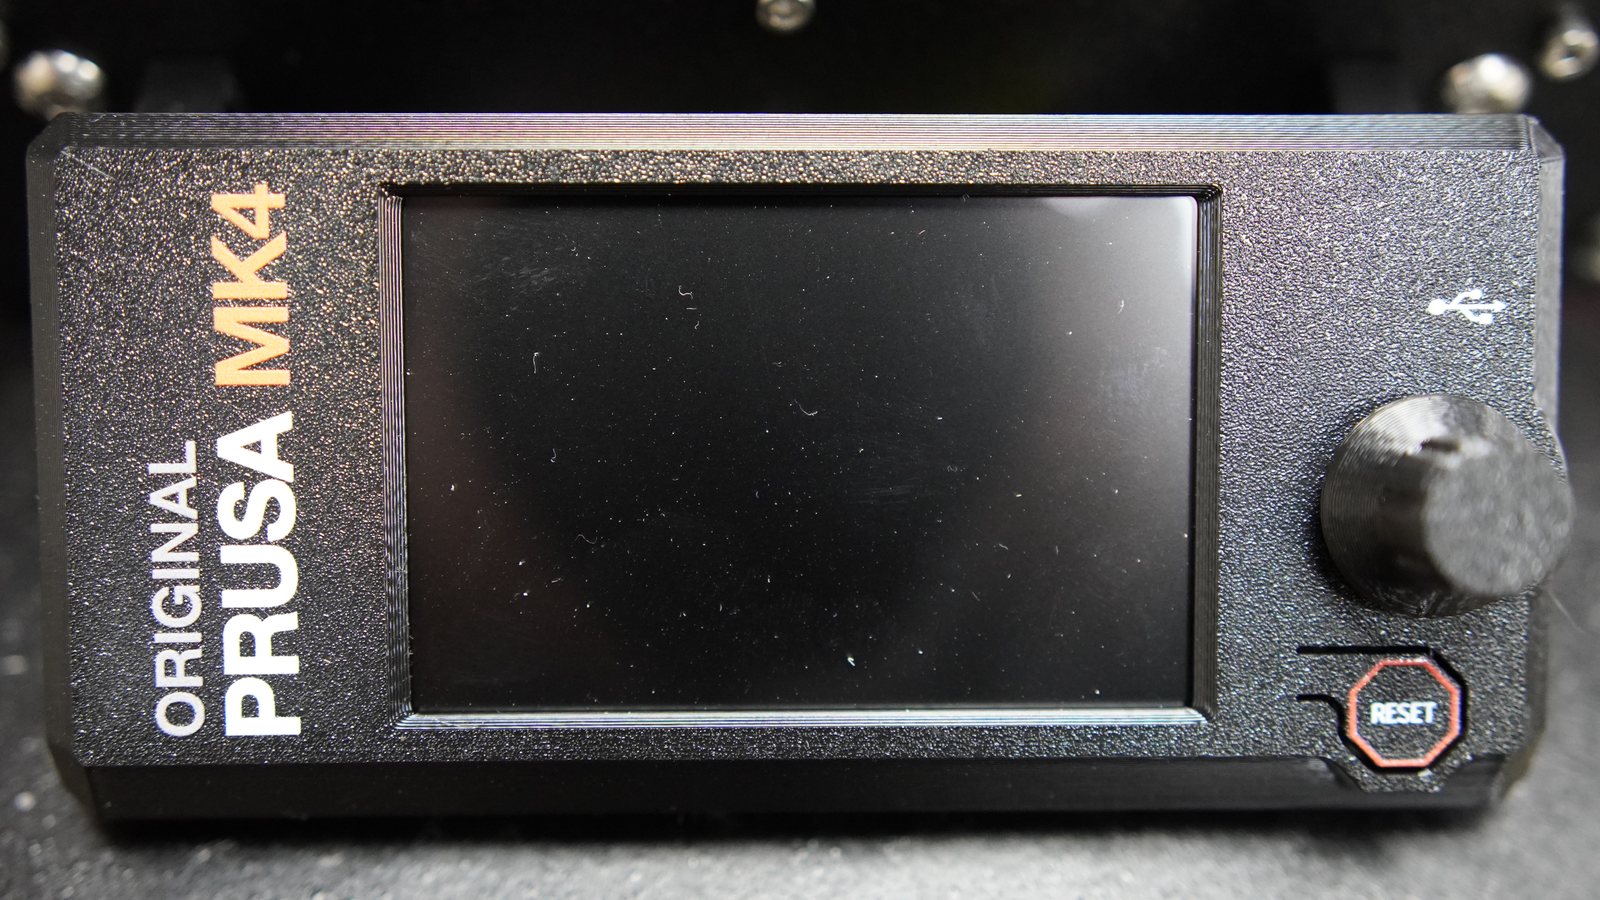
I got an Original Prusa MK4 kit for Christmas.

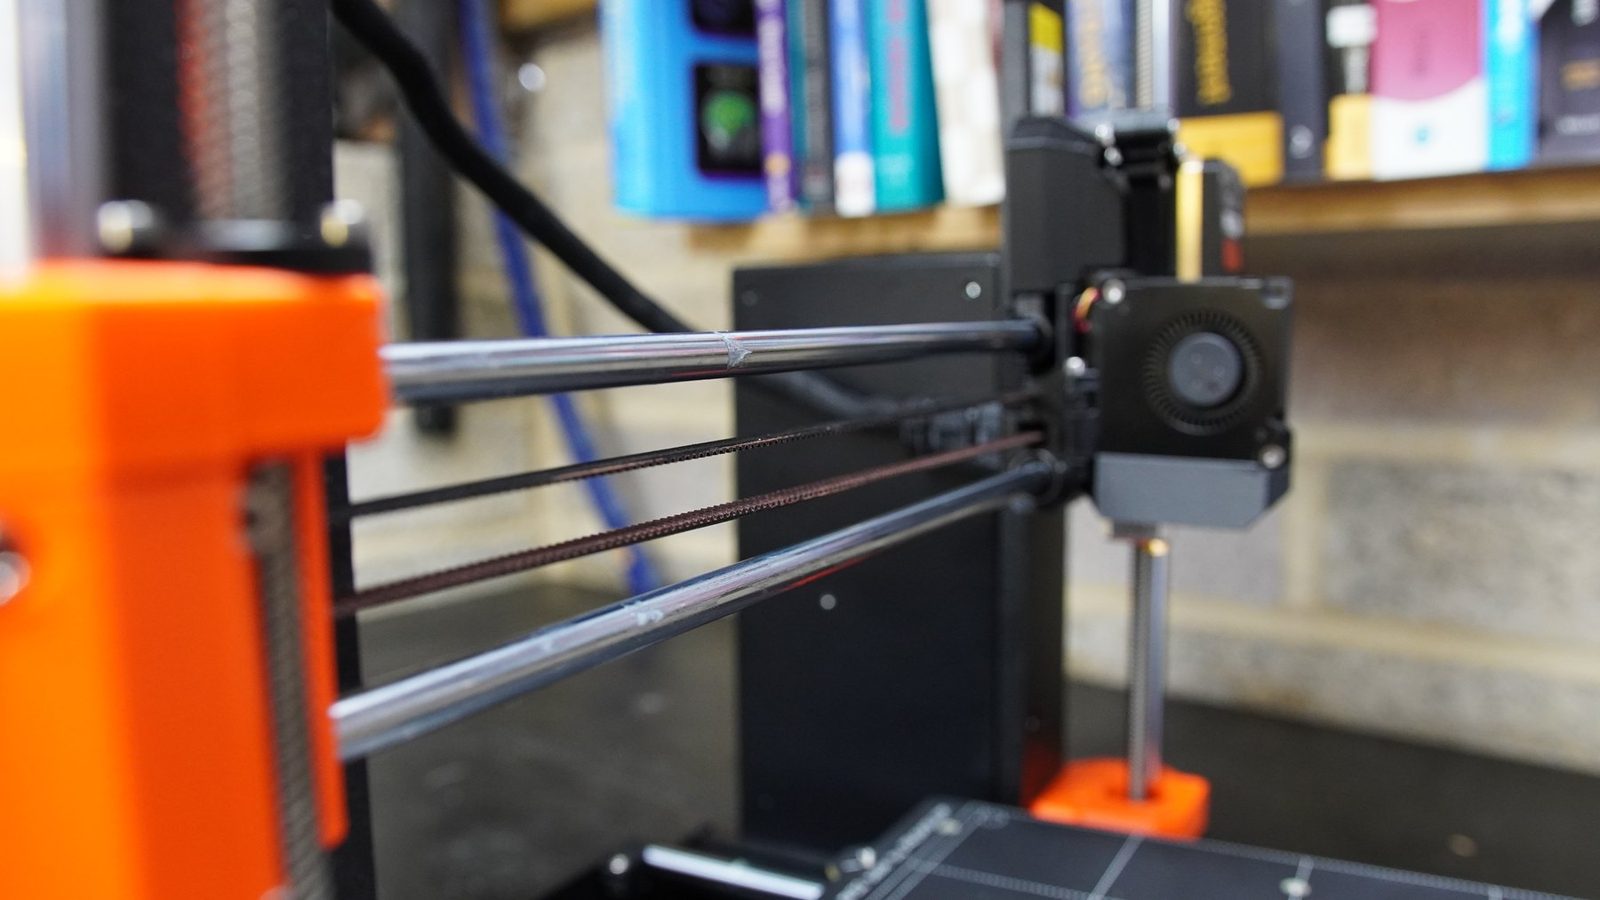
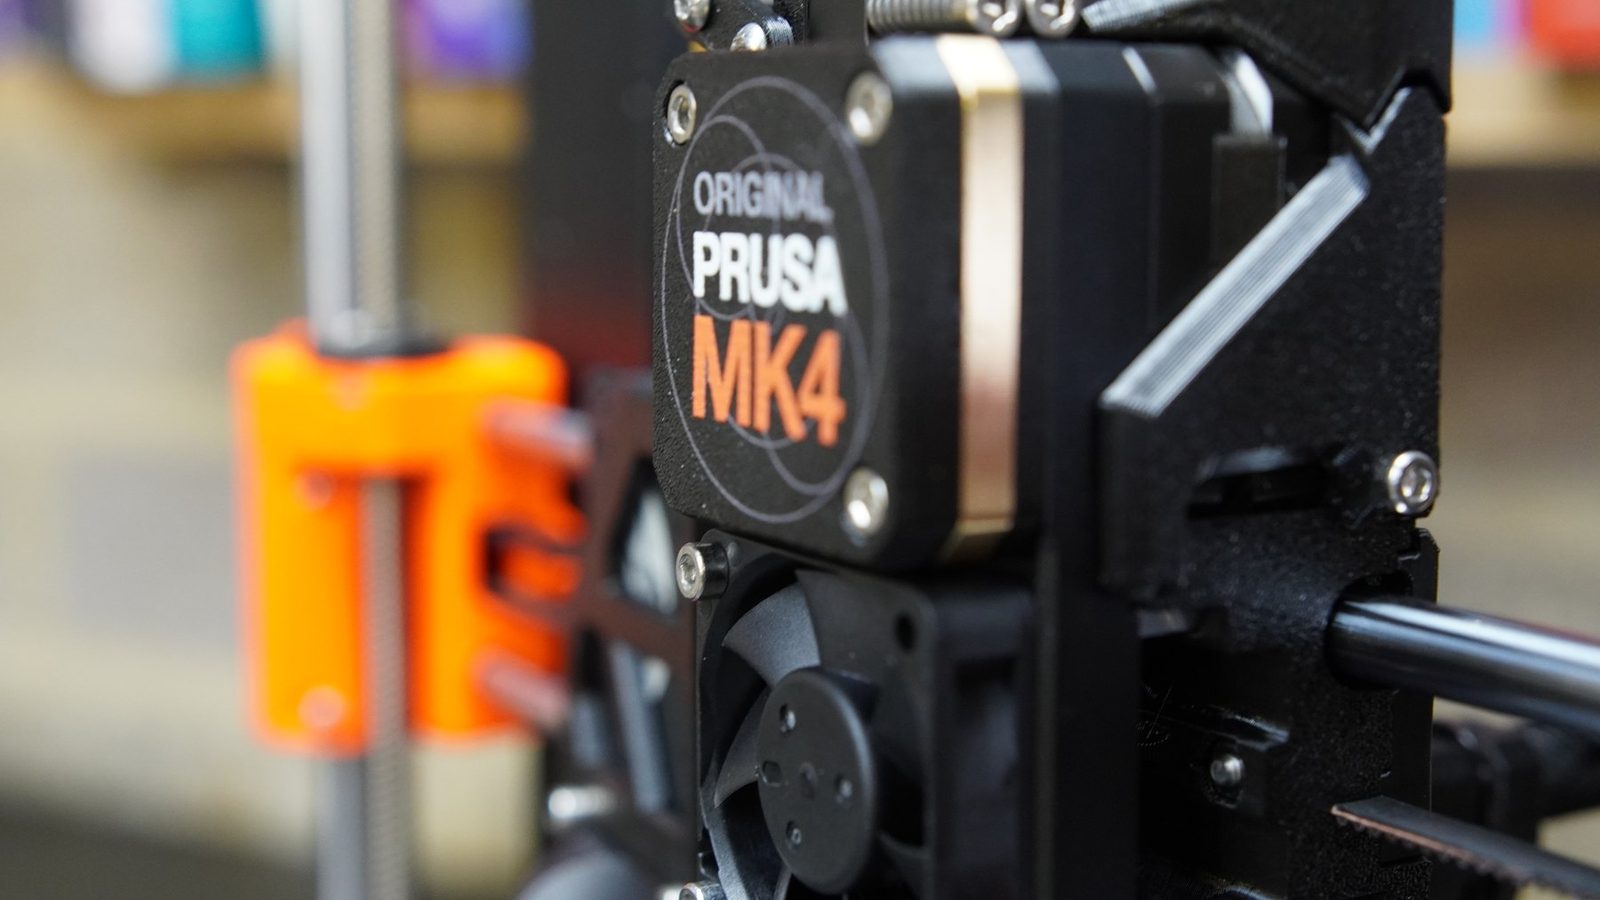
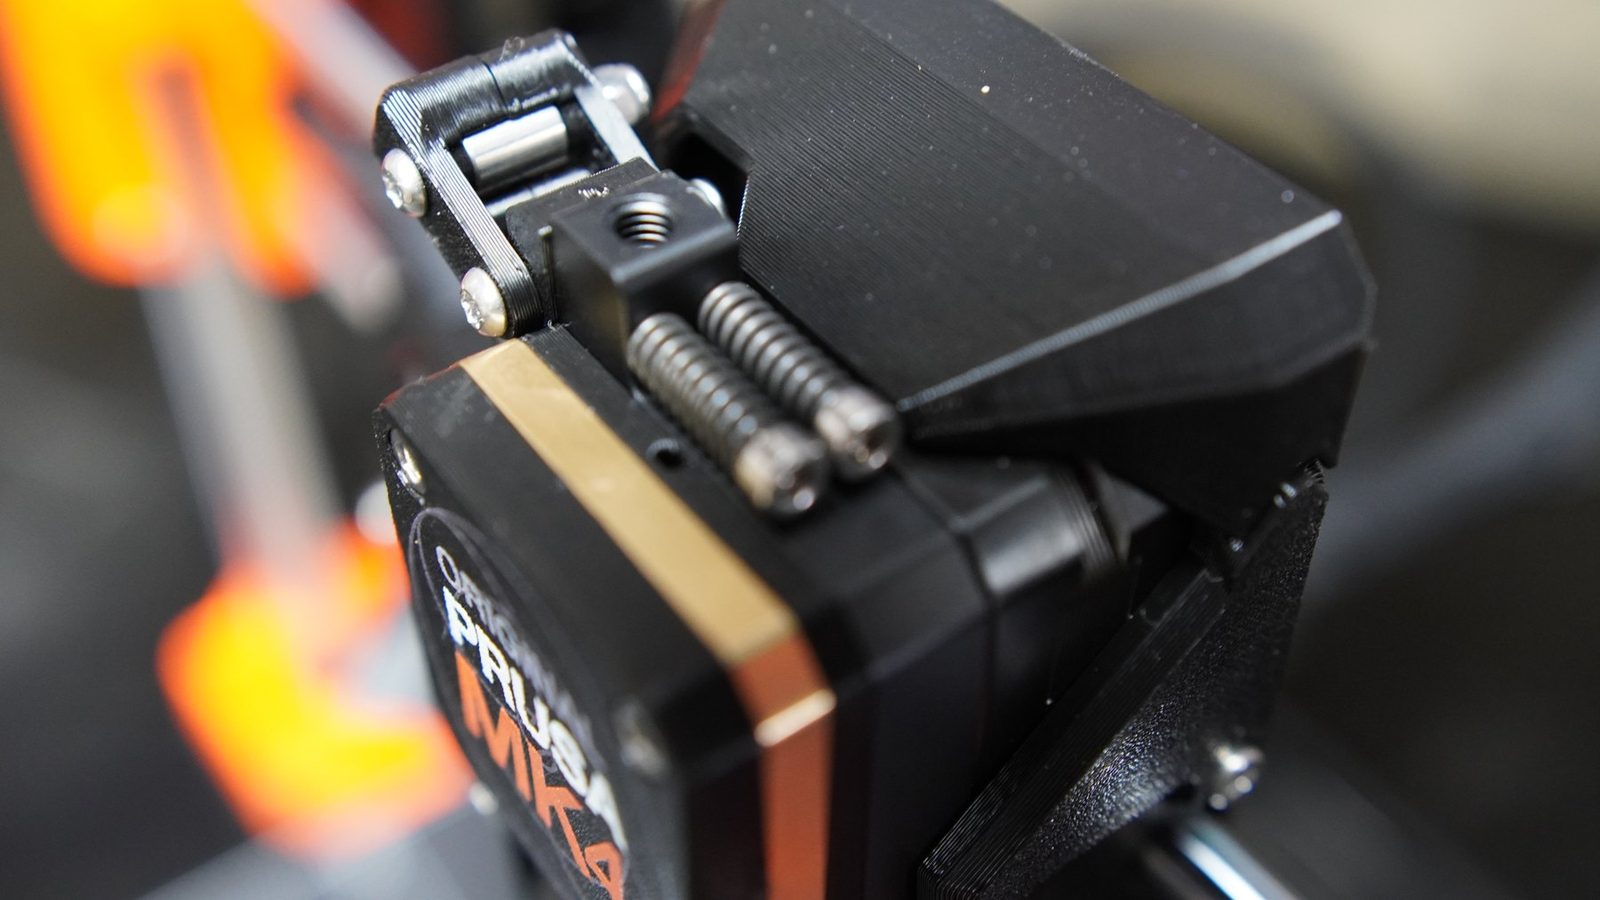
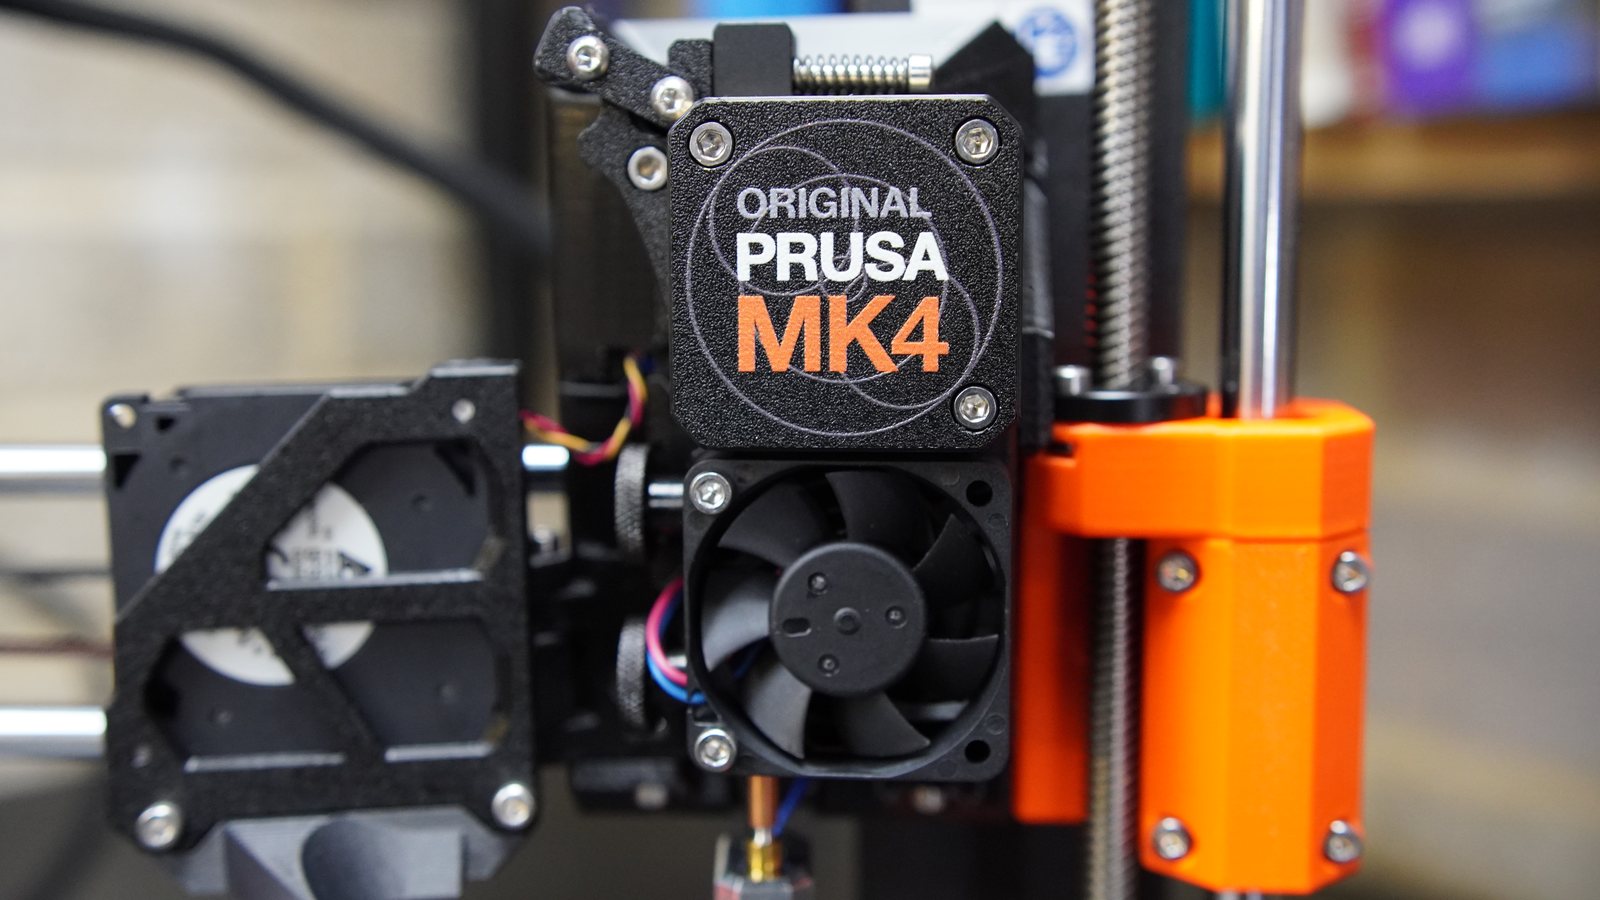
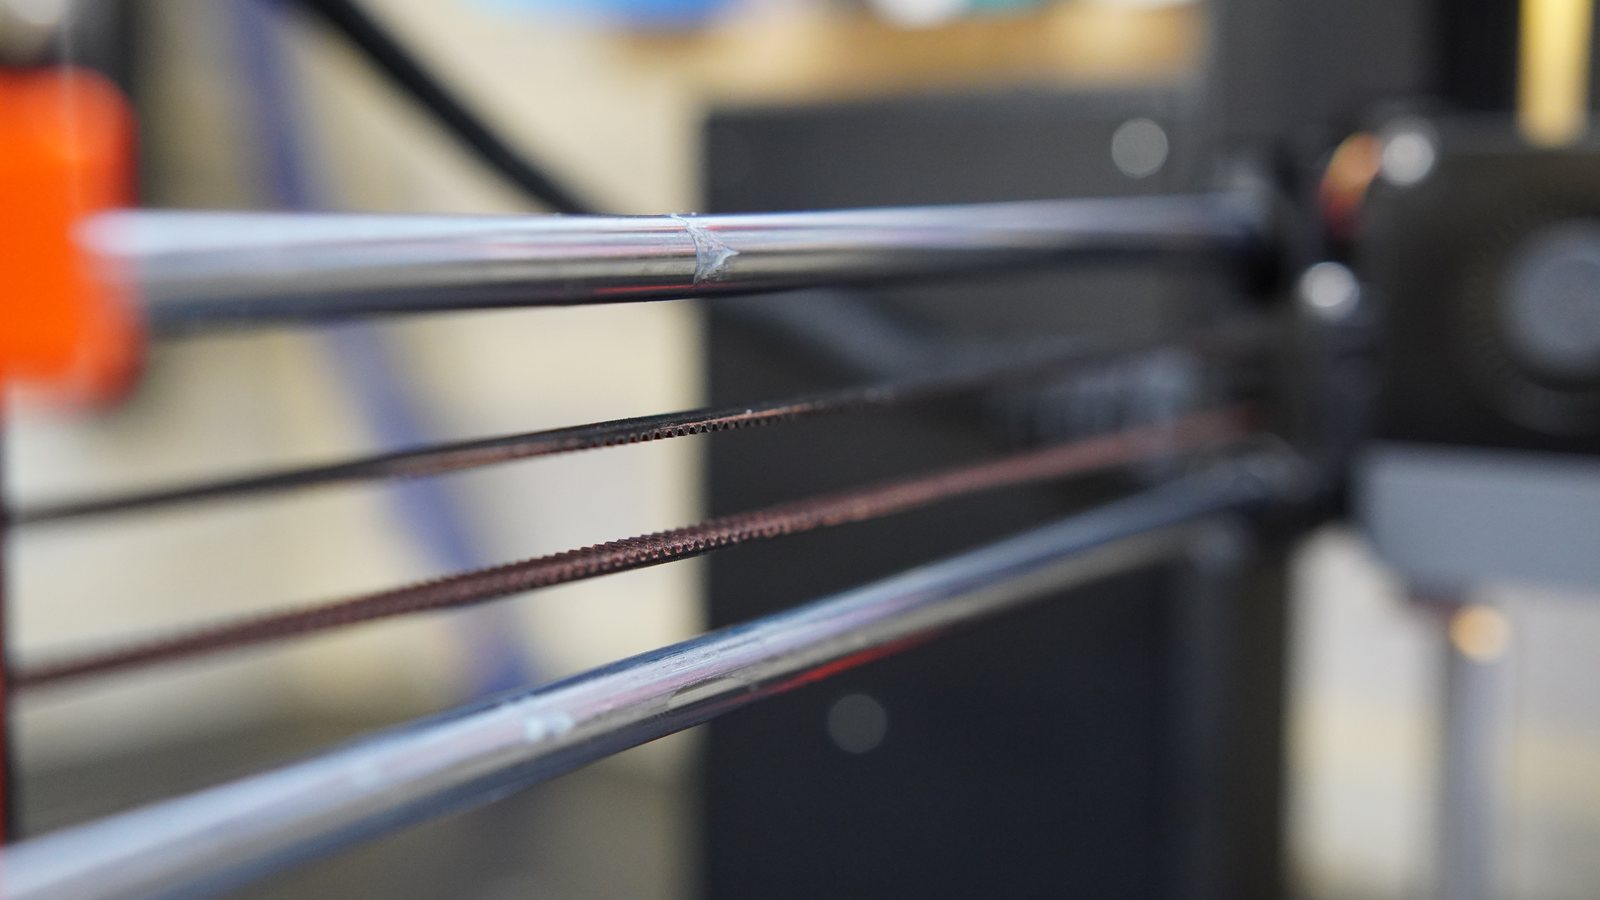
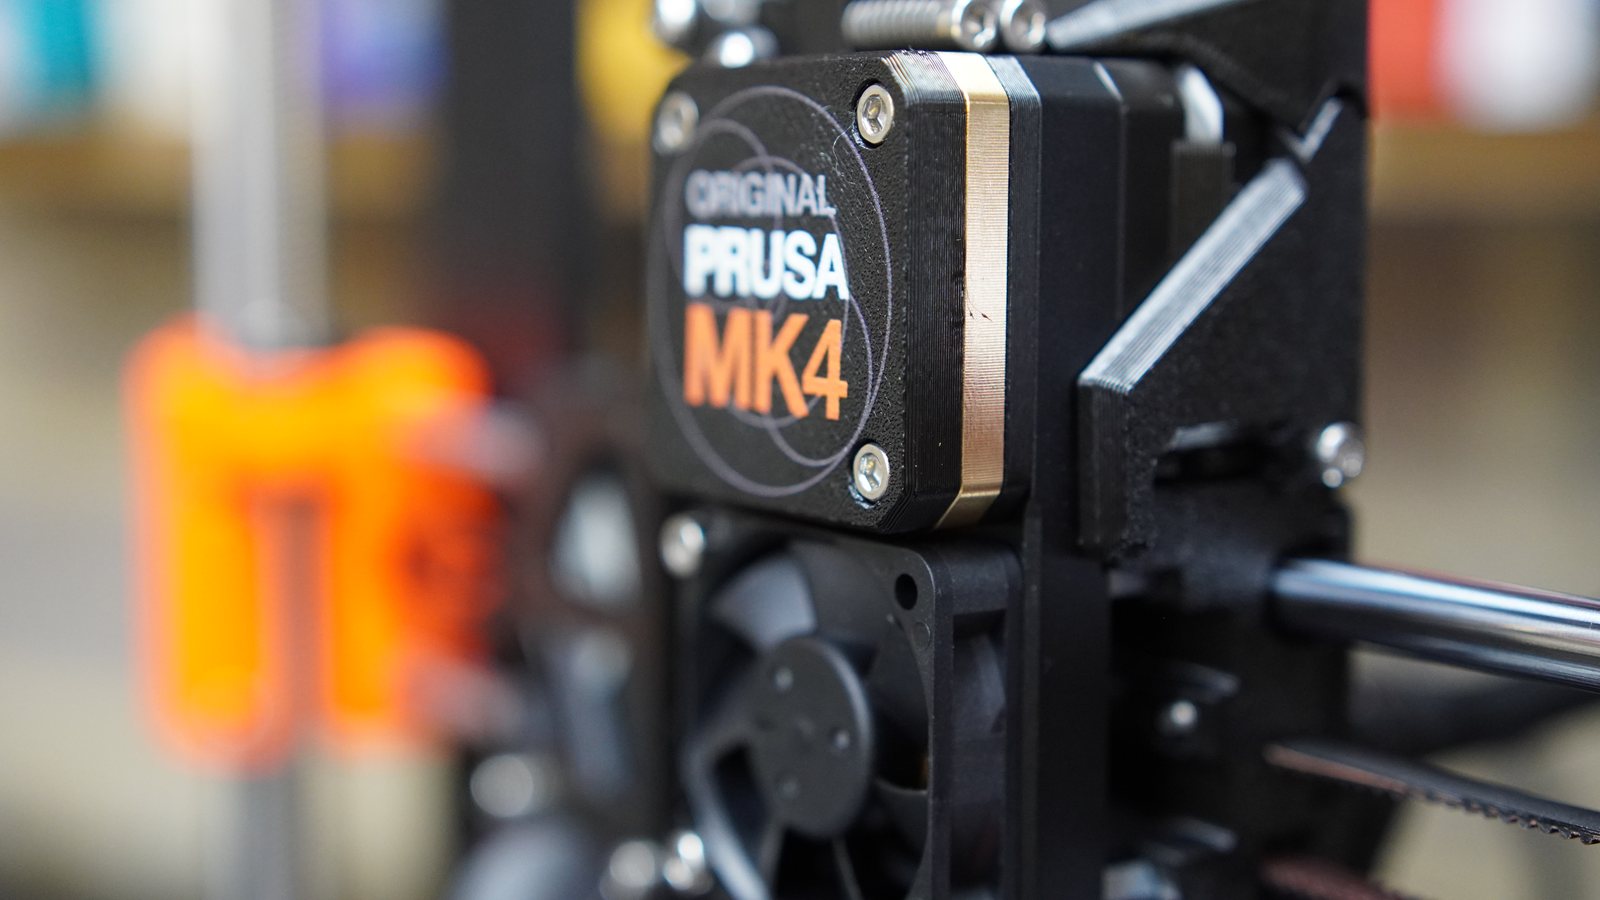
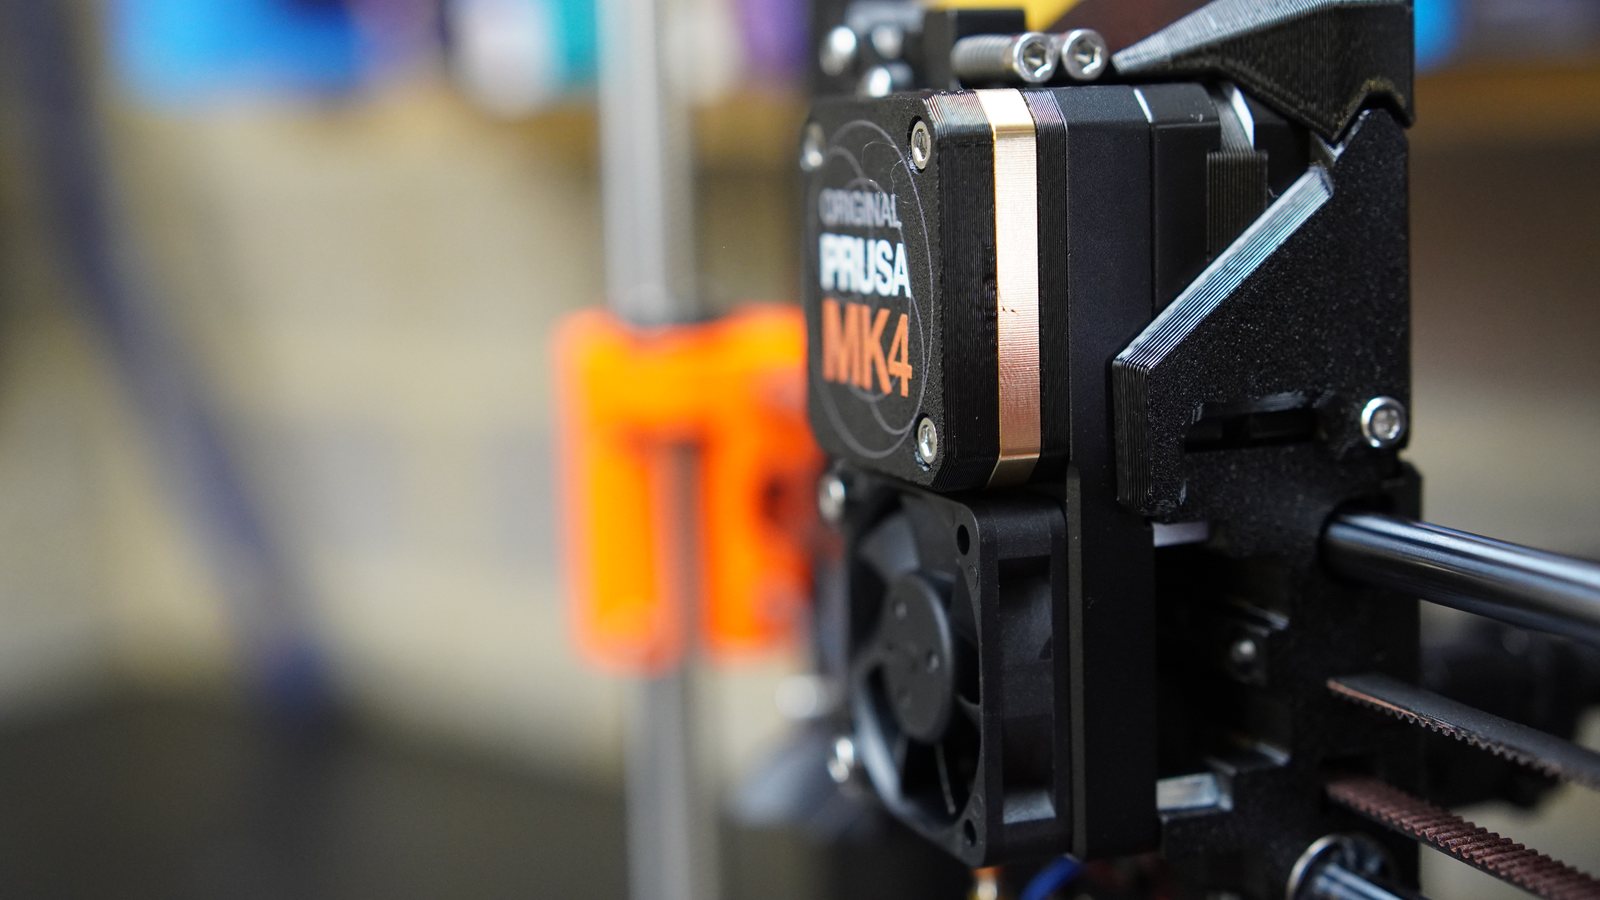
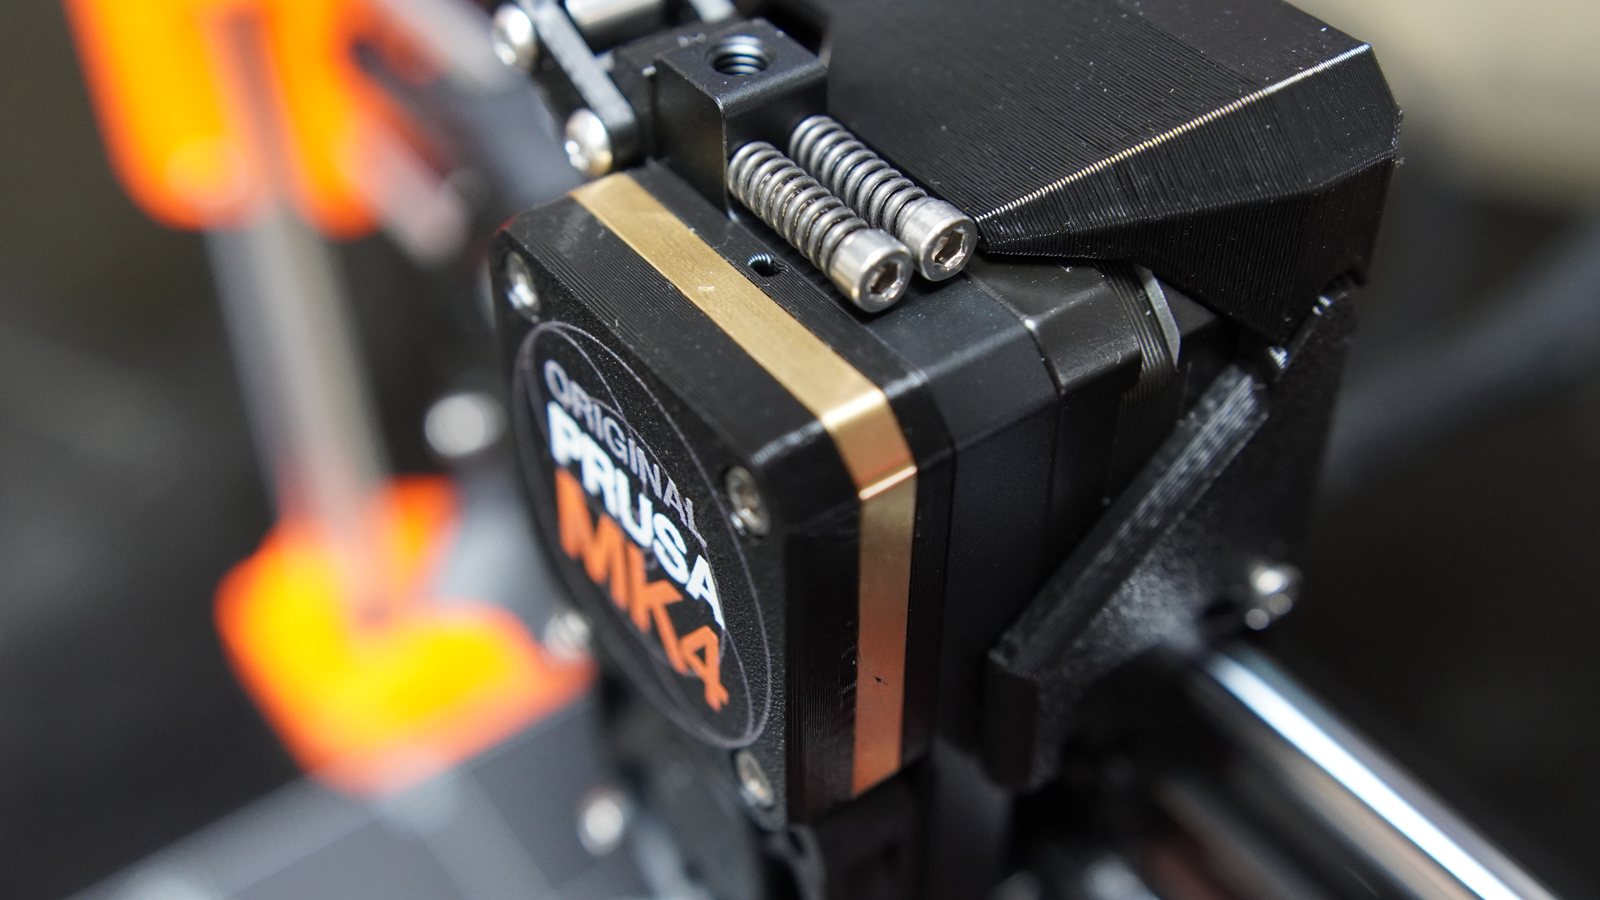
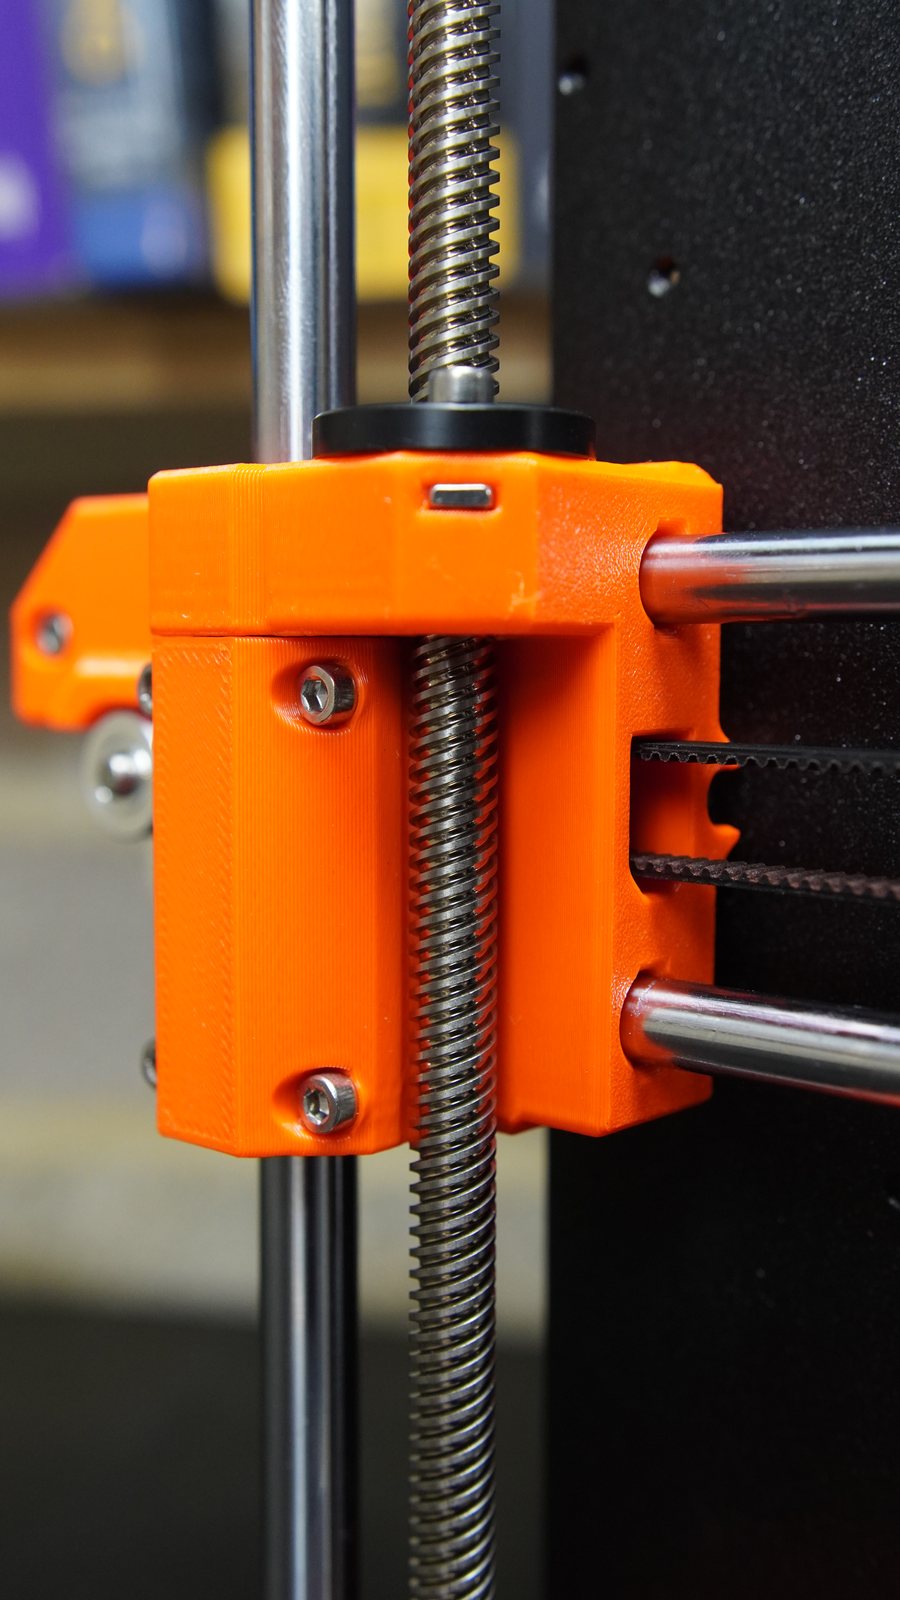
Close-up of the Original Prusa MK4 print head.
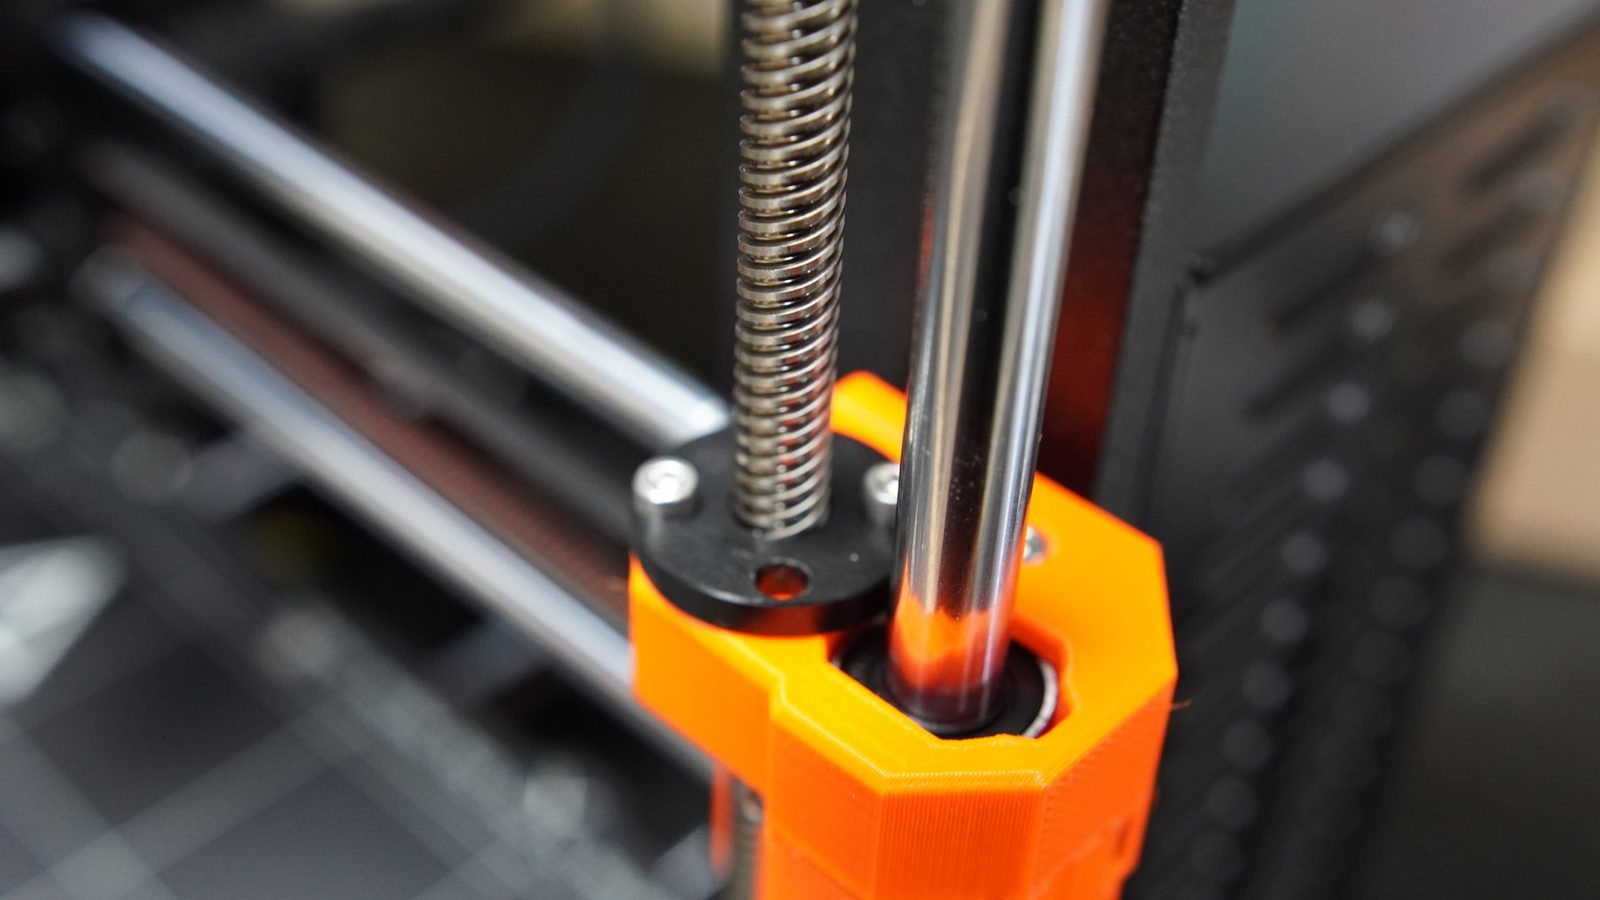
Orange plastic, black hardware - domestic manufacturing problems to follow.
BUILD SPEC PRUSA MK4
Printers
One Original Prusa MK4, built from the kit. No second printer, I was thinking of a resin printer, but haven't actually needed one since I've had the prusa.
Modifications
Prusa enclosure, hardened nozzle, satin sheet. CNC Kitchen tips on the soldering iron for heat-set threaded inserts, these are really good.
Materials
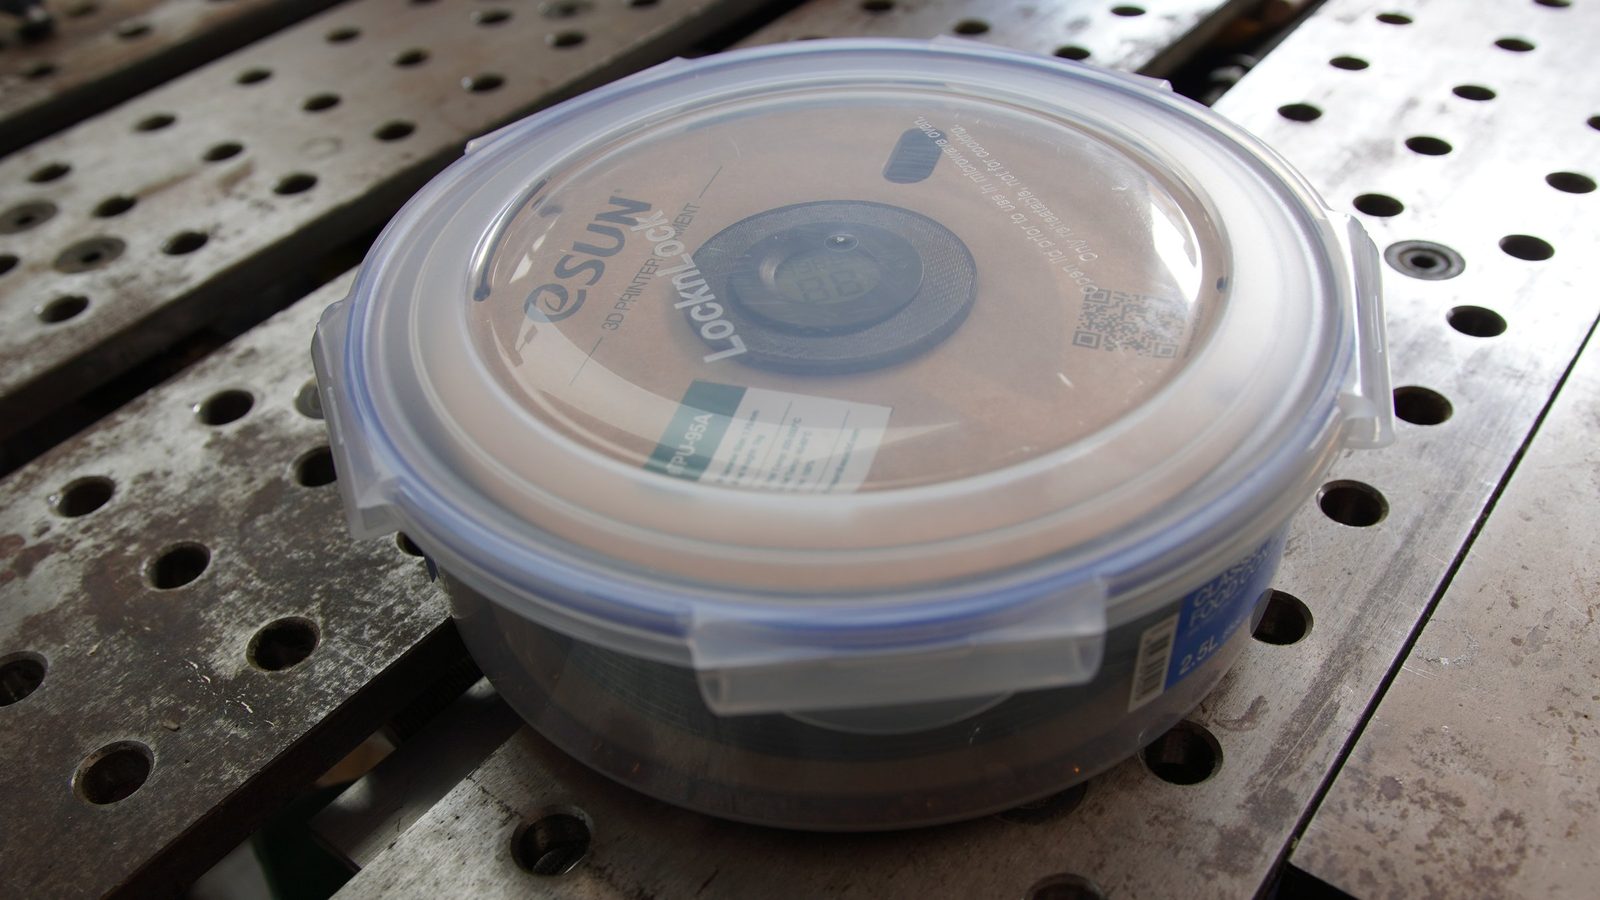
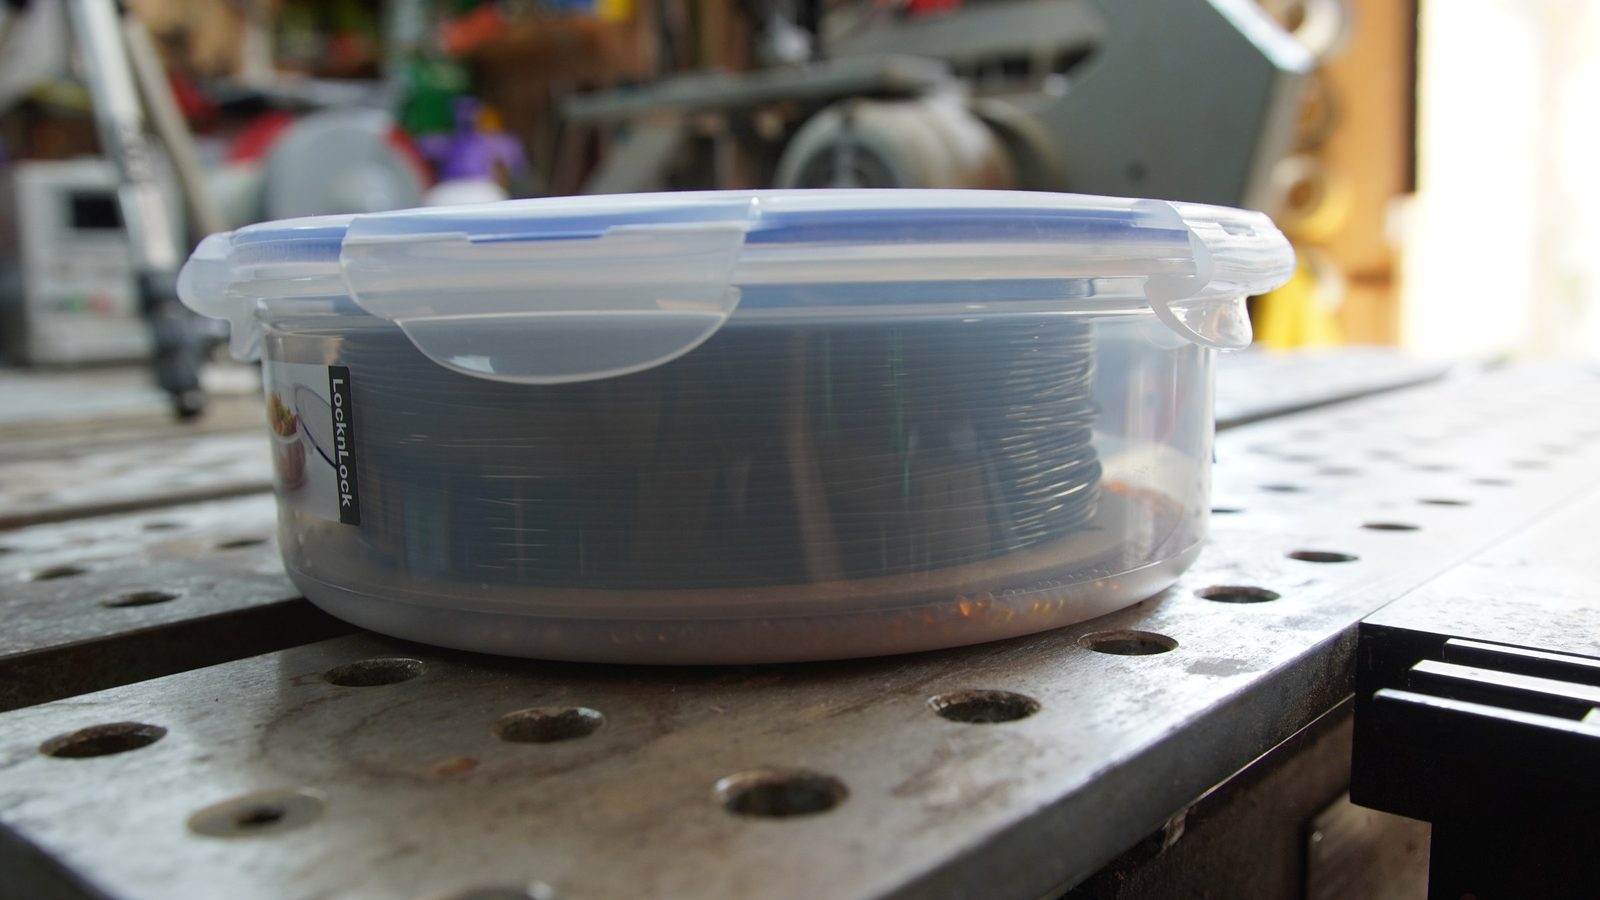
PETG by default. Also ABS, TPU, nylon and carbon-filled PETG (carbon filled PETG is pretty awesome). Started on Prusament, now I use eSun. Spools live in 2.5L Lock & Lock airtight food containers, which fit a reel exactly and are really cheap.
Typical settings
Standard layer height on the stock profiles: 0.2mm for PLA, down to 0.1mm for PETG and anything with detail in it. Input shaper on.
What it makes
Robot parts, workshop jigs, dust extractor adapters, cabinet fittings, and repairs for things that were never meant to be repaired. Everything I draw myself is done in FreeCAD.
Running cost
Never worked it out. A spool lasts long enough that the cost has never been the reason not to print something.

What went wrong

Remarkably little. One print let go of the bed and welded itself into a blob around the hotend, which took a while to pick off. The fans failed and were replaced. The one that still annoys me: run out of filament mid-print and the printer can get stuck in a loop, refusing to admit that new filament has arrived. Separately, and written up below, a firmware update quietly broke printing altogether.

What I would change

Nothing about the choice. I looked at Bambu and went Prusa because it is open, and Bambu have since been closing off access to their own software, which settled the argument retrospectively. The only real limit is build volume — I want to print a BB-8 but that's massive. That wants a bigger printer, and I would rather build that one than buy it.
FreeCAD

Designing stuff.

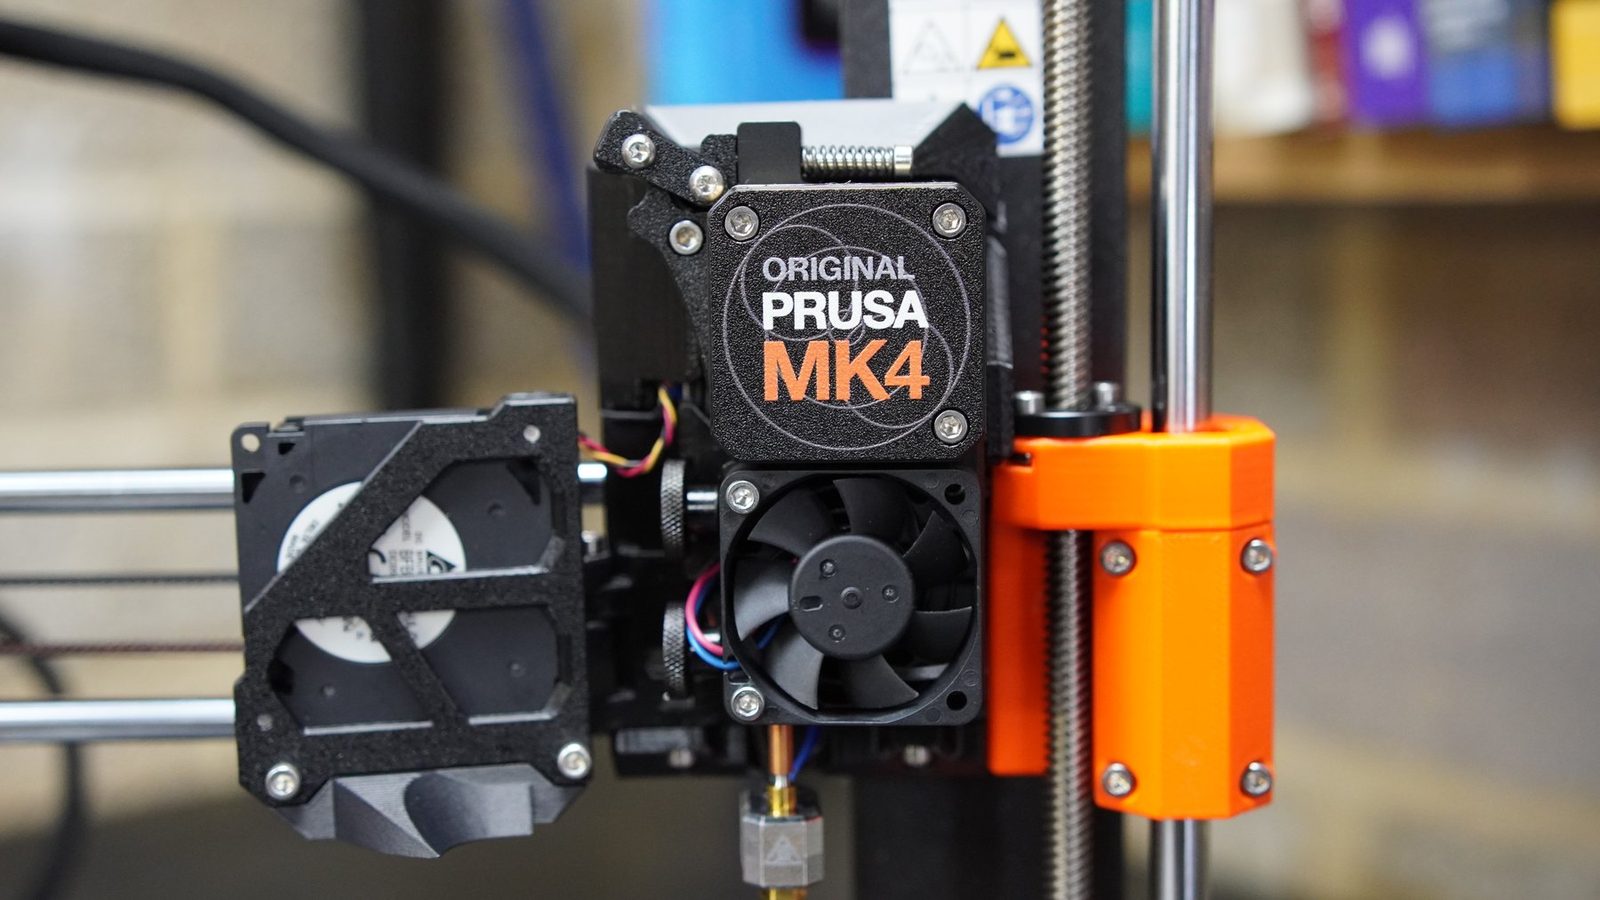
I have been learning FreeCAD - forcing myself at first to use it, now after watching lots of videos from MangoJelly I'm really enjoying using it. V1.0 release was very good, it's an awesome piece of software - just with a bit of a learning curve. For my speaker project I did a full assembly of it in FreeCAD.

Fixtures

Really really useful

Most of what I print is functional: robot parts, brackets, adapters, cabinet fittings, workshop jigs and wot not.

Open tools

FreeCAD and Prusa make sense together

I chose the Prusa partly because it is open and understandable. Same reason FreeCAD has become the default: if a tool is part of the workshop, I want to be able to inspect it, fix it, and keep using it when the vendor tries a bait and switch.

Actual modelling

FreeCAD is parametric

I absolutely love the parametric nature of FreeCAD, and the solver for sketches is super cool, takes a while to get used to but it's epic.

Opening the boxes

It is Christmas after all.

Decorative Engineering: side quest

My wife asked me to fix this while I was building the printer. Fair enough.

Decorative Engineering: dissambling it

a serious repair to a seasonal object.

Decorative Engineering: welding it

Yes, the Christmas decoration made it onto the welding table.

Main frame

Uprights and plates.

Steppers

Small screws can be tricky.

Bearing detail

I've got an idea for these big bearings.

Orange printed parts

Printed brackets becoming part of the machine that will print more brackets.

Build arc

Kit to working machine

Sorting screws into little piles.

X-axis carriage

Rods, blocks, and carriage.

Toolhead install

Cool gantry.

Hotend small parts

The hot end.

Fan and shroud

Airflow hardware.

Mounted toolhead

Print head.

Electronics entrails

Cable routing and controller wiring.

Heatbed wiring

Finding more bits.

More stuff

assembling more bits.

Final routing

Wiring the machine.

Finding the right screws

The nearly finished MK4 on the bench.

Last underside checks

Such a nice kit to build, very straightforward.

dead or alive

you spin me right round, baby right round

You tube gold

Yeah so I'm not the best presenter.

Unboxing, from above

The foam tray, the loom, and a leaflet that says HAPPY PRINTING.

Frame uprights

Parts bins on the bench, instructions open on the laptop.

Electronics going in

The board and its connectors.

Bearings onto the rods

Grease first, then slide.

X-axis from above

Carriage, rods and belt.

Orange parts

Printed parts out of the bag and onto the frame.

Making up connectors

Small crimps, done by hand.

Extruder assembly

Small parts, overhead.

Mounting the extruder

Onto the X carriage.

The display module

Screen, board and housing.

Nearly a printer

Standing on the bench, screen on.

Heatbed wiring, from above

The overhead angle, and me in shot for once.

Debugging / firmware regression

Robot parts as a firmware test case

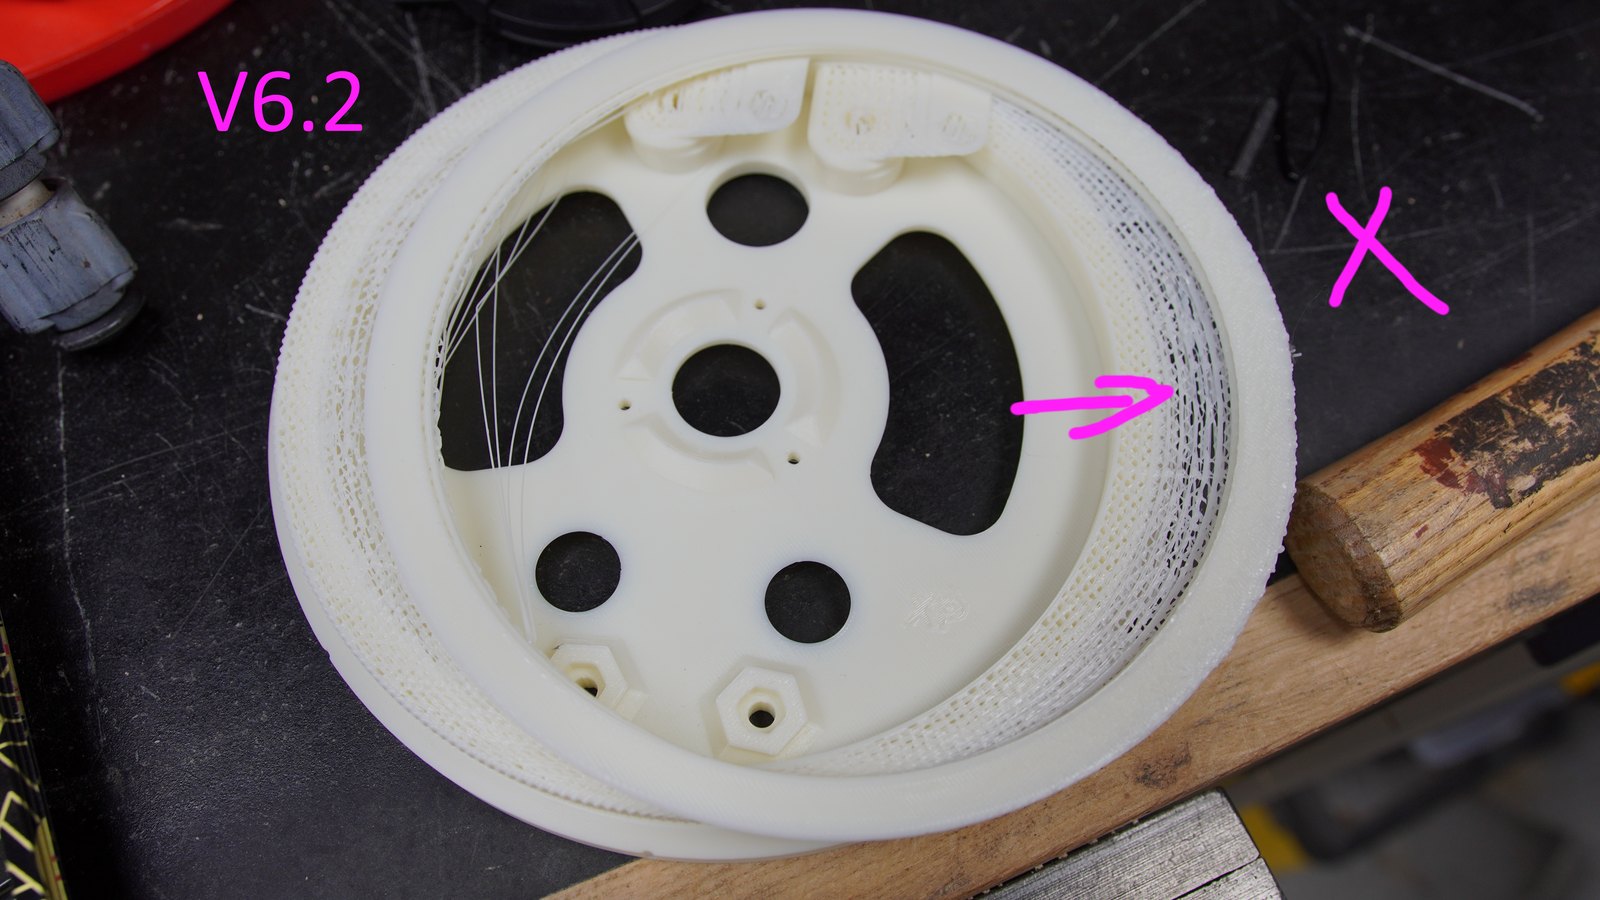
While printing ARCTOS robot-arm gears, I hit repeatable layer shifts after updating the Prusa MK4 firmware. The first checks were mechanical: belts, screws, calibration, slicer settings. Nothing obvious explained it.

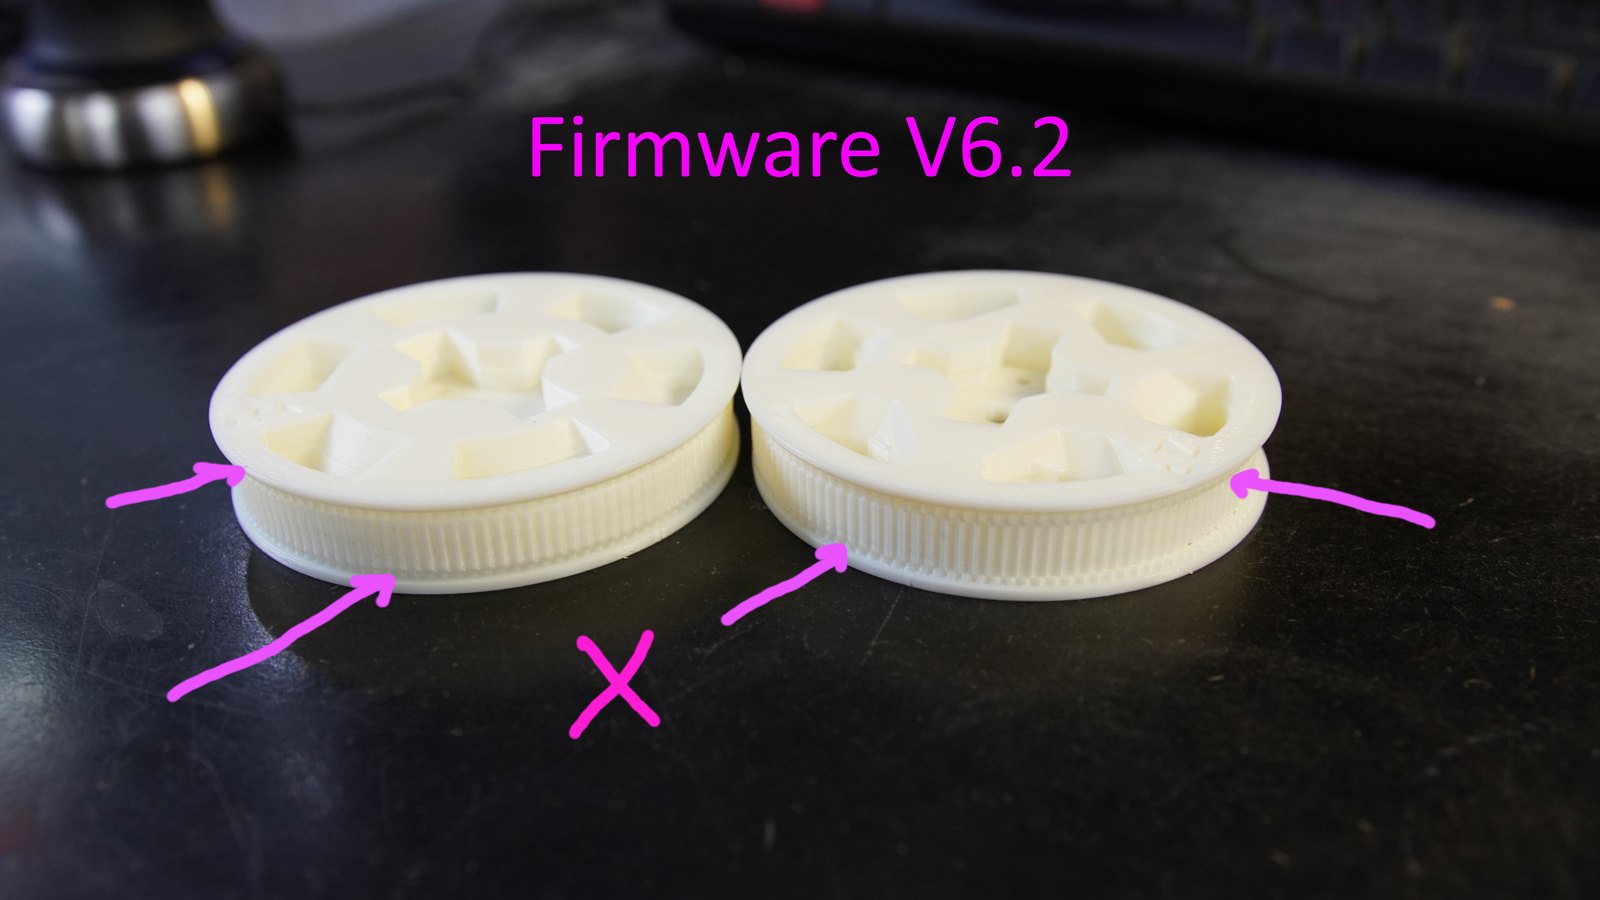
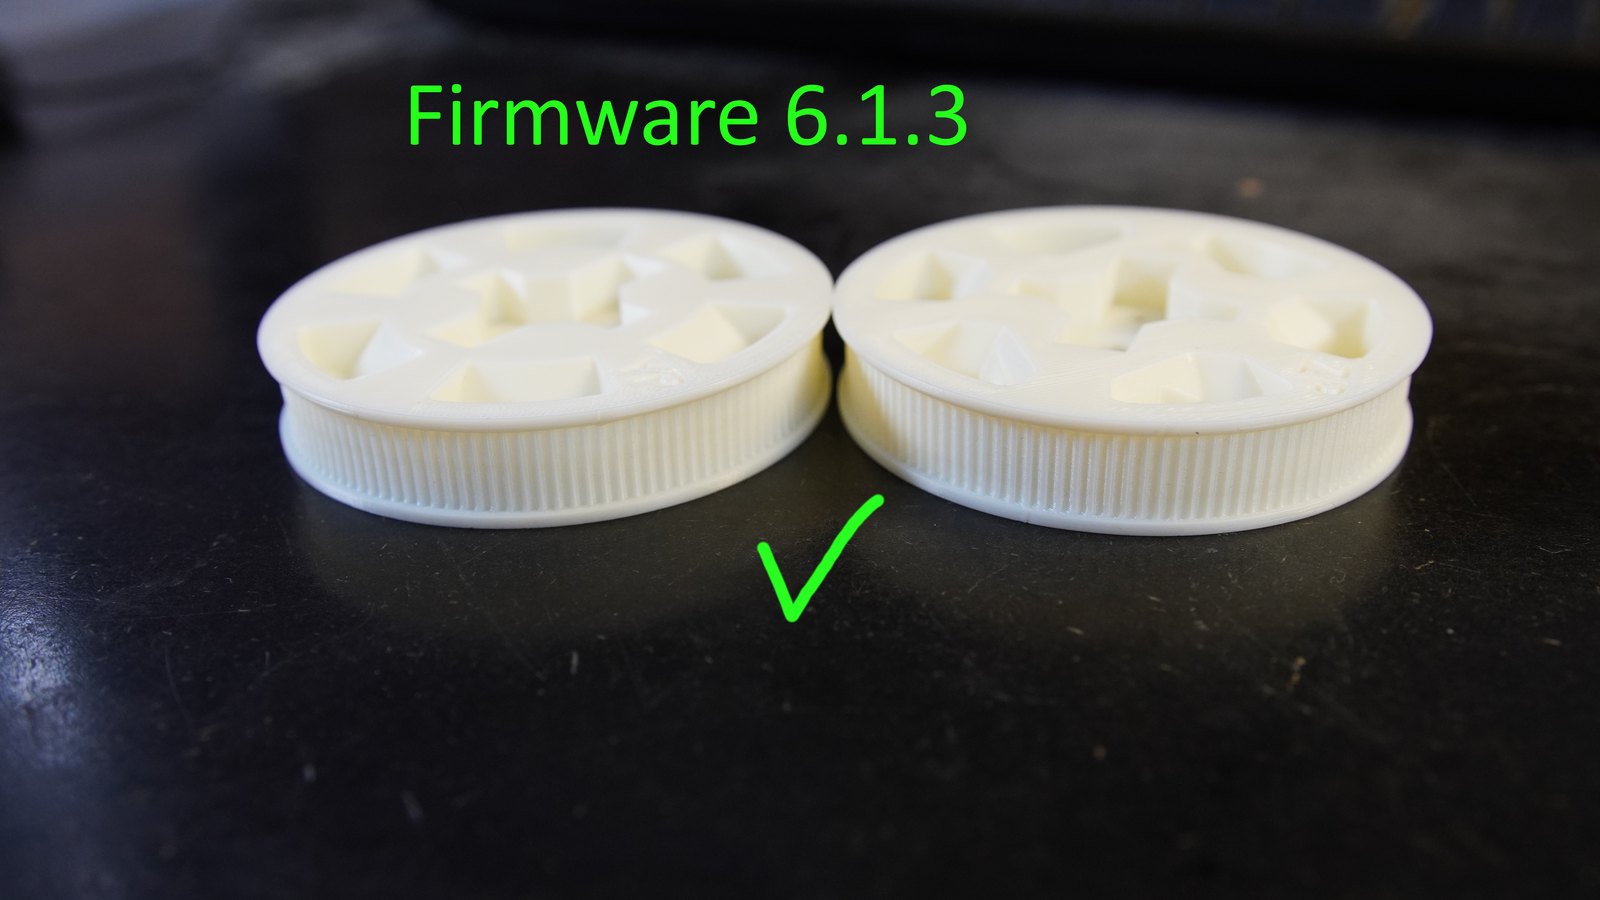
Rolling back from firmware 6.2.x to 6.1.3 made the same parts print successfully. Same printer, same class of part, different firmware behaviour.

I added the result to the public Prusa-Firmware-Buddy issue threads. Other users reported similar failures, Prusa tied the regression to internal ticket BFW-6795, and firmware 6.2.2 was later released with a fix.

ARCTOS robot gear print results marked up to compare firmware 6.2 and firmware 6.1.3.
Same gear print, different firmware behaviour

Off the bed

What it has actually been for

  • ARCTOS robot armGears and structure for the robot arm build (also the parts that exposed the firmware regression below).
  • SO-100 and TurtlebotMore robot parts
  • Drift trike spacersSmall part to jig the sprocket when drilling new mounting holes.
  • Woodworking jigsBench jigs and fixtures, plus small brackets that hold magnets into cabinet doors.
  • Dust extraction adaptersYou can buy adapters for different extraction hose diameters but they tend to be surprisingly expensive
  • BMW i3 cup holderA new official BMW cupholder is £85, but I printed one for about £2 and it's lighter than the original
  • IKEA sink plug gasketFor my friend who lost his plug
  • Tablet wall mountsFire tablets mounted flush to the wall as home automation panels.
  • Dinosaurs, D&D minis and LegoPrinted for the children, at 0.1mm, some of them overnight.

Filament storage

Using a food box for filament storage

Some filaments are hygroscopic, and when the water in the filament boils in the print head it can lead to bad prints - a rough surface, weak parts. Nylon and TPU are hygroscopic. I'm not sure about PETG and so on, but I keep them in these containers anyway.

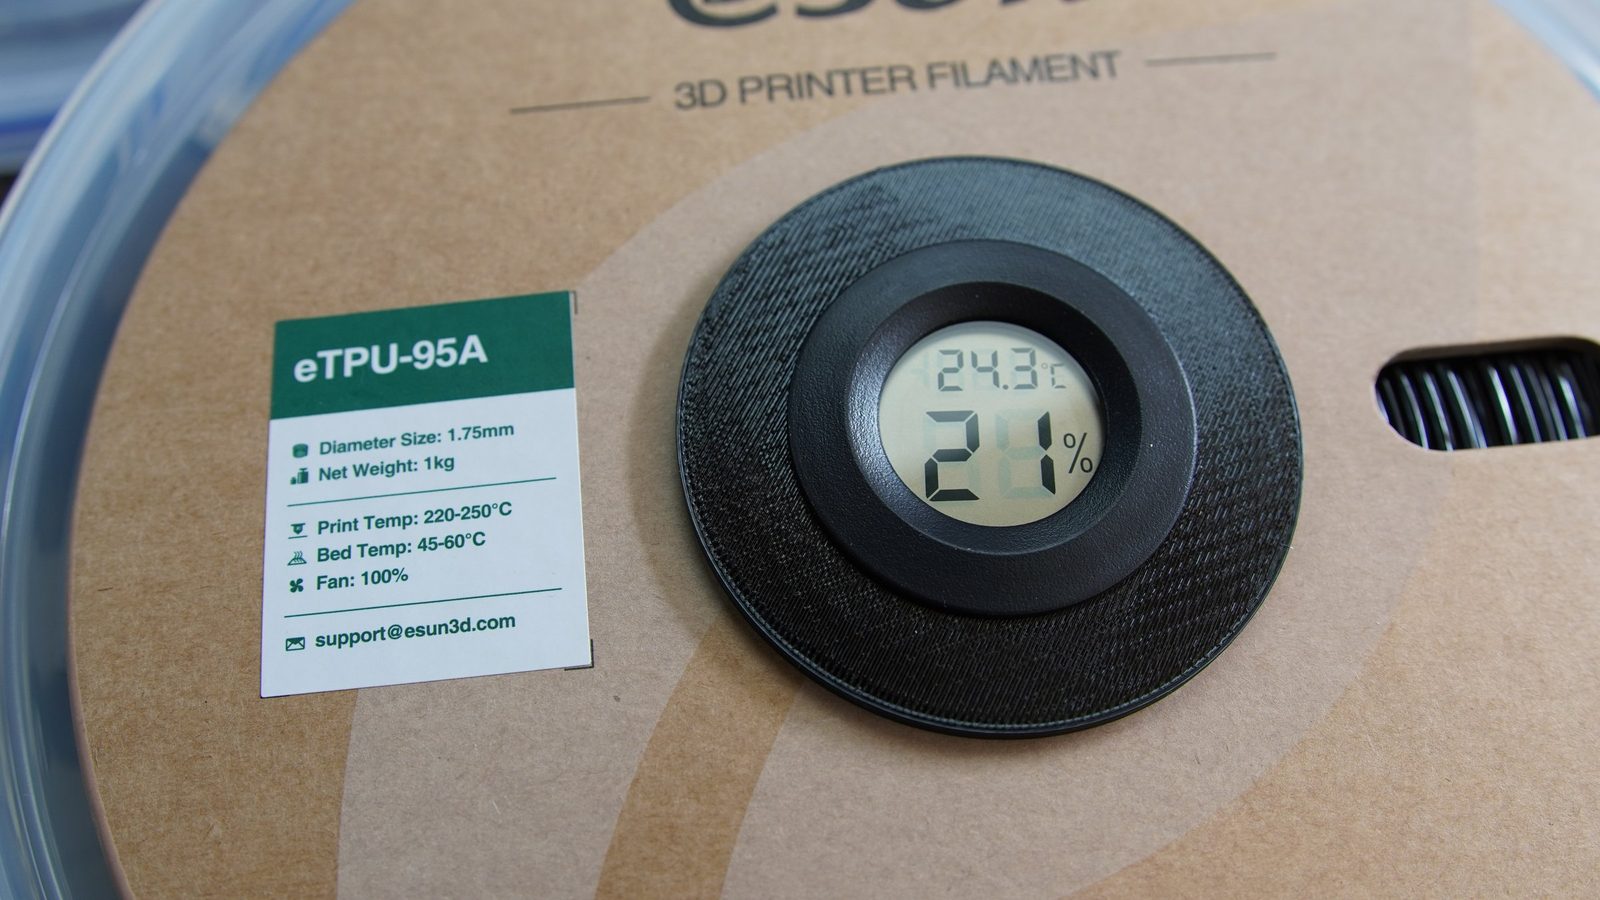
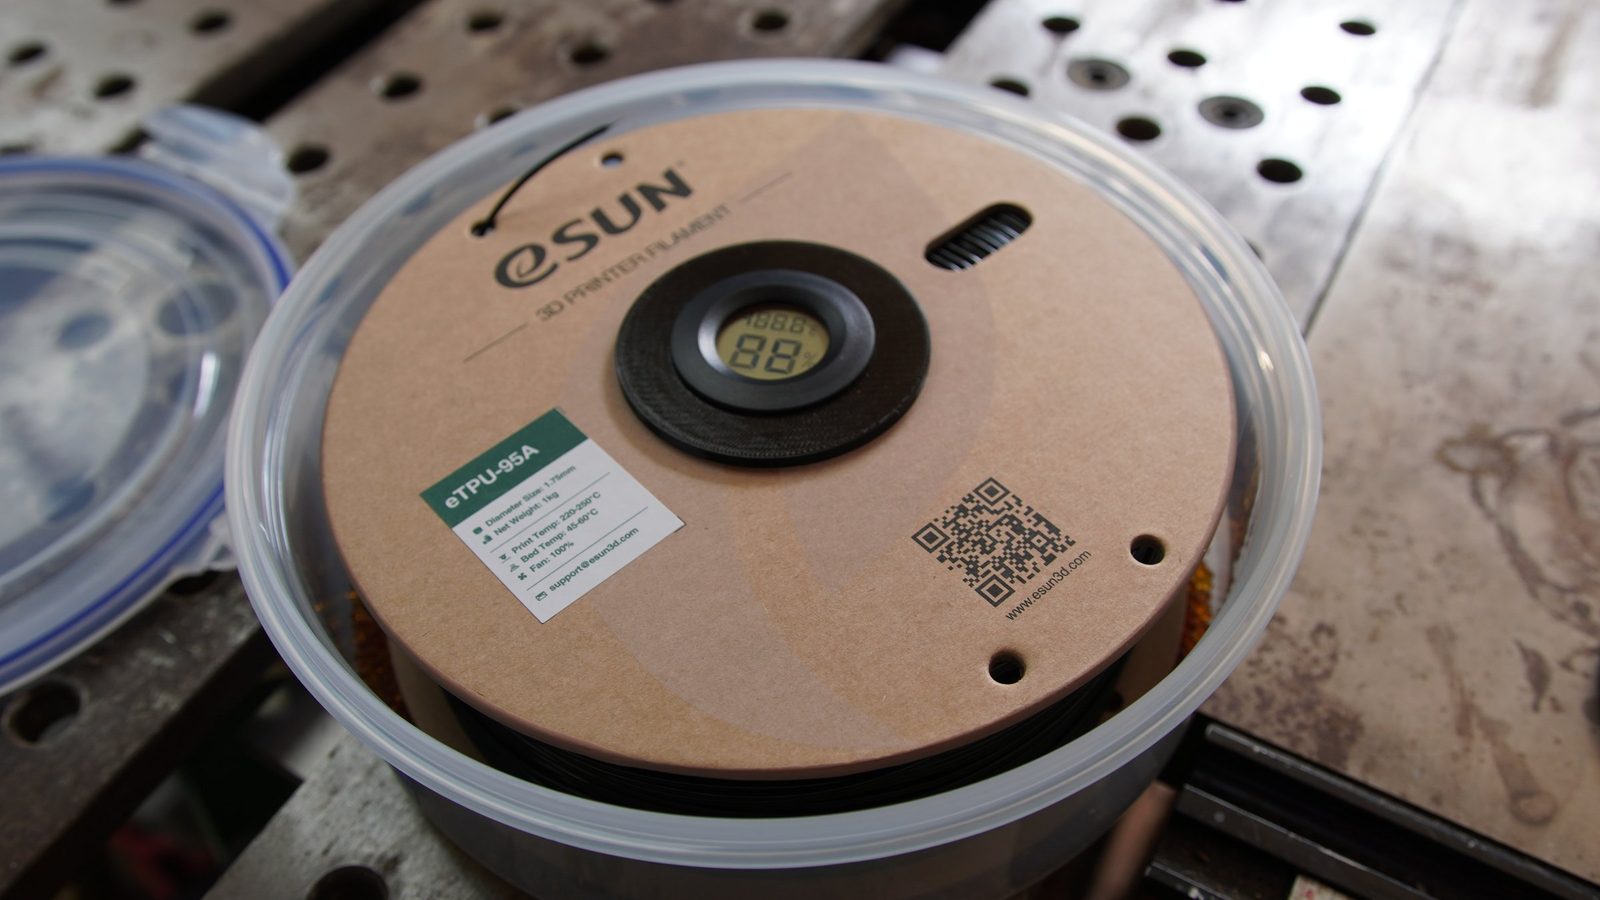
A 2.5L Lock & Lock airtight food container takes a 1kg spool really well and clips shut on a rubber seal. A cheap hygrometer from Amazon sits in the middle of the reel so I can see whether it is actually working.

A hygrometer in the hub of an eSun TPU spool reading 24.3 degrees Celsius and 26 percent relative humidity.