Family workshop
Vehicle / welding / electronics / controlled silliness
Drift Trike
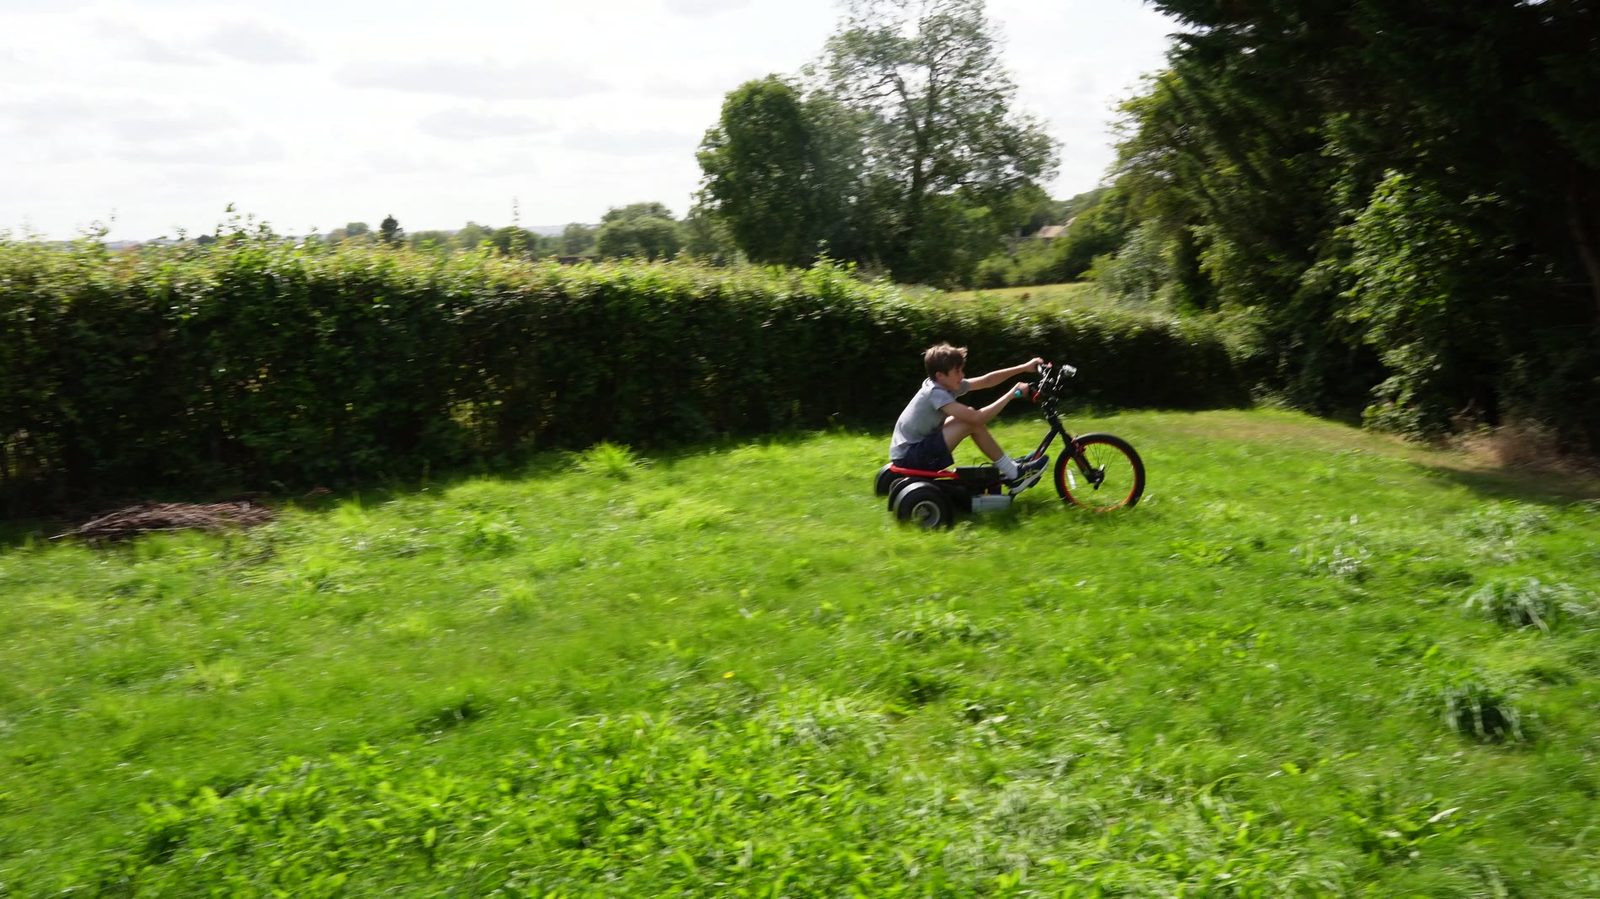
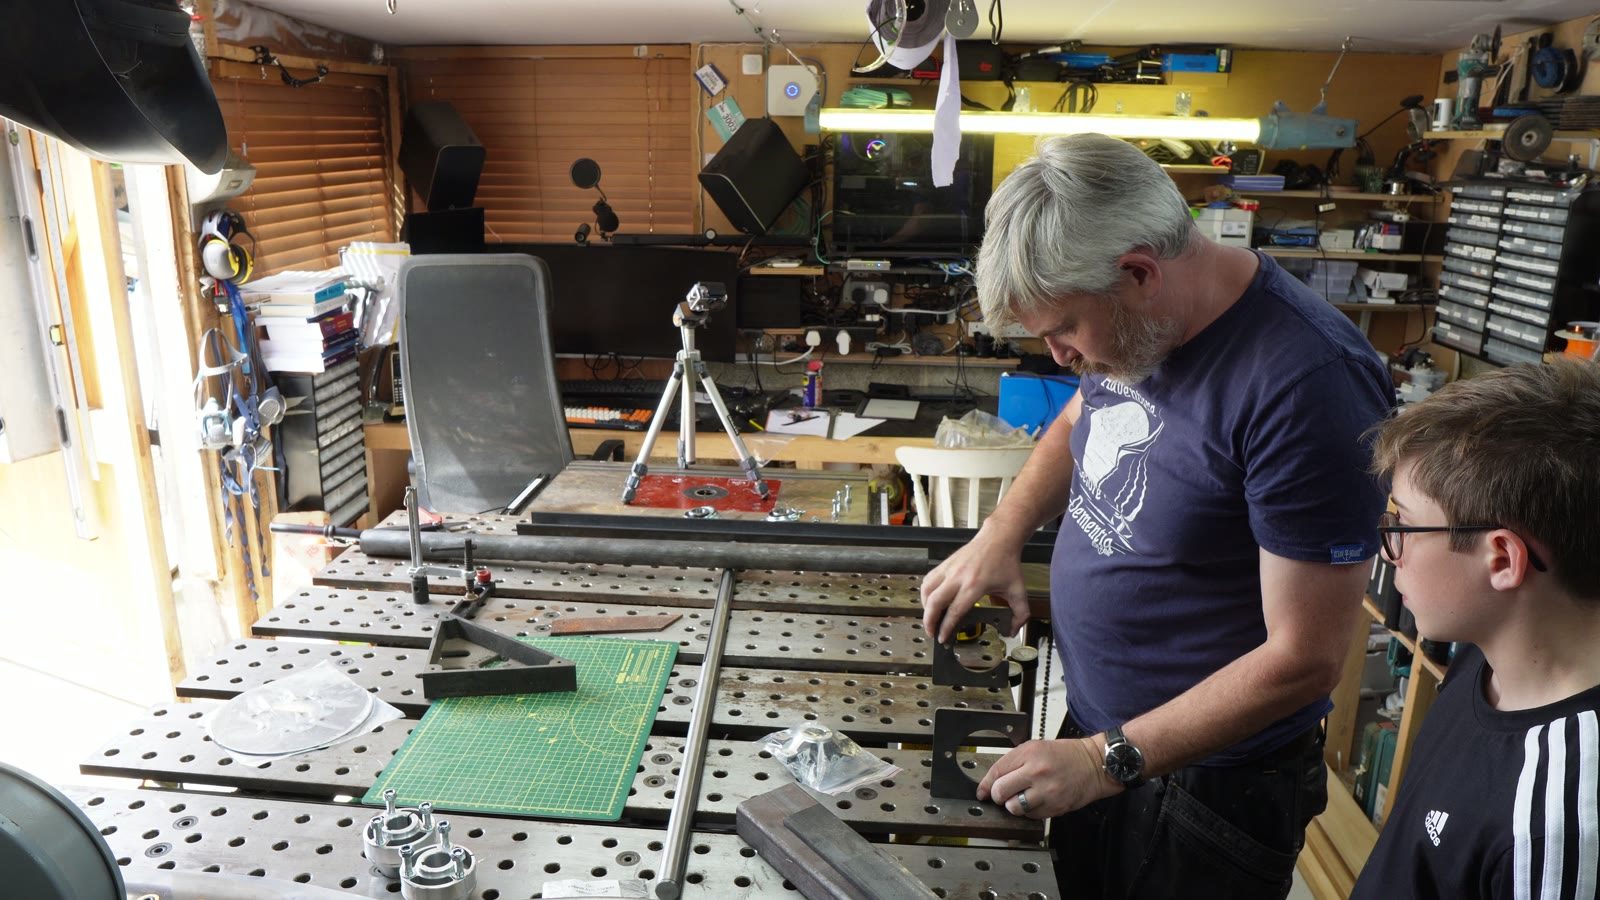
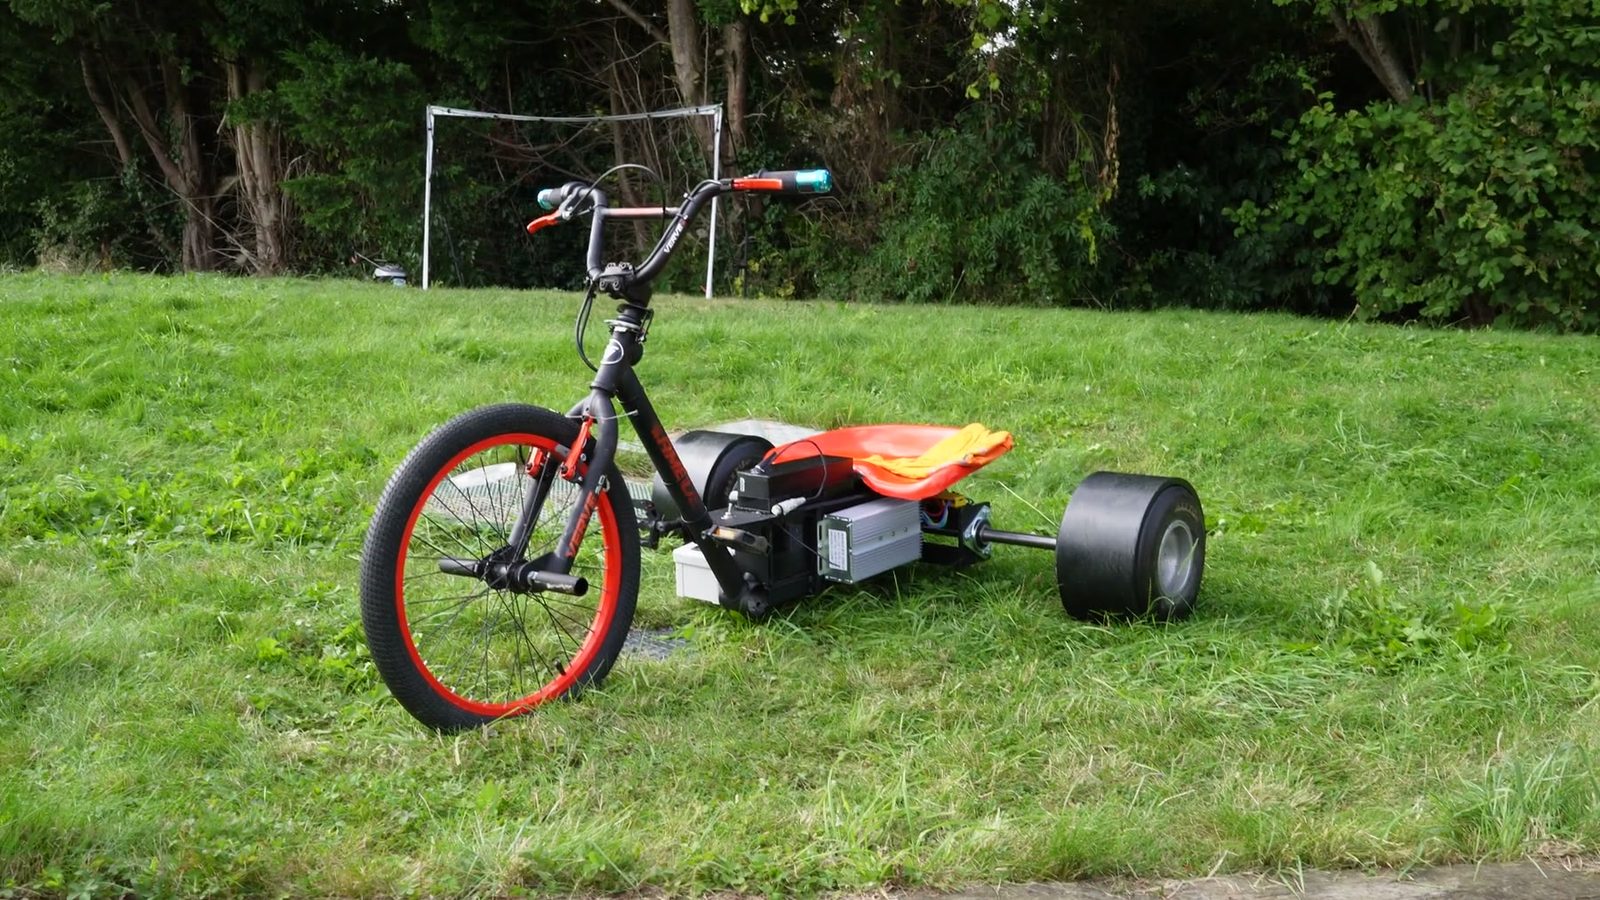
Electric drift trike. Fabrication, motor mounts, controller wiring. It has to make a you grin while going sideways, even better if your children think it's "sick".
- Frame
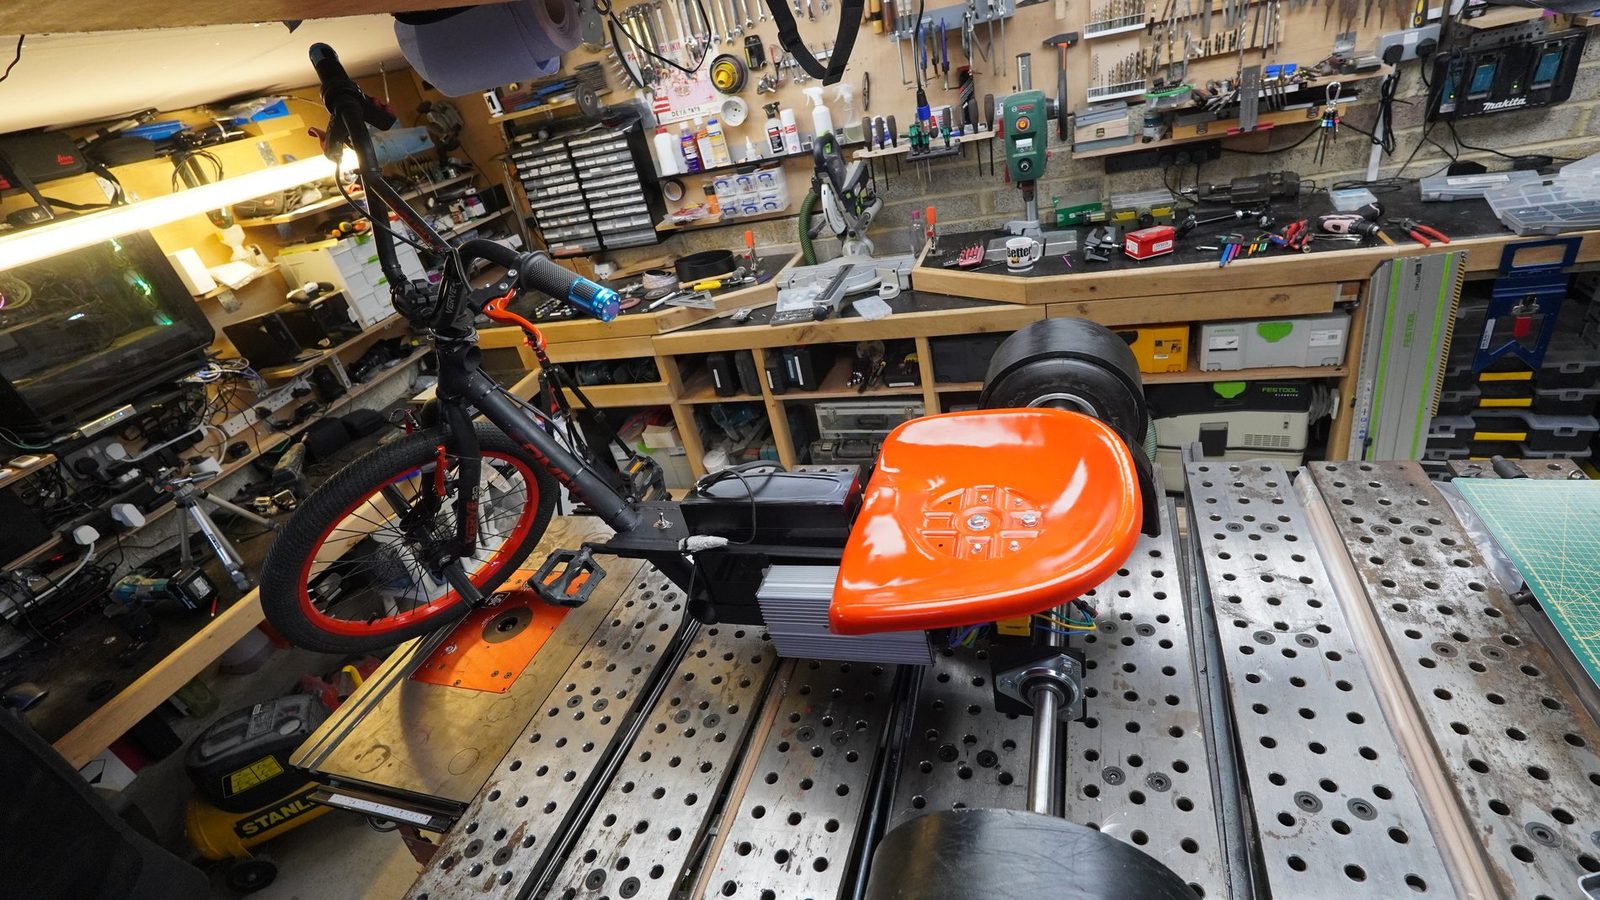
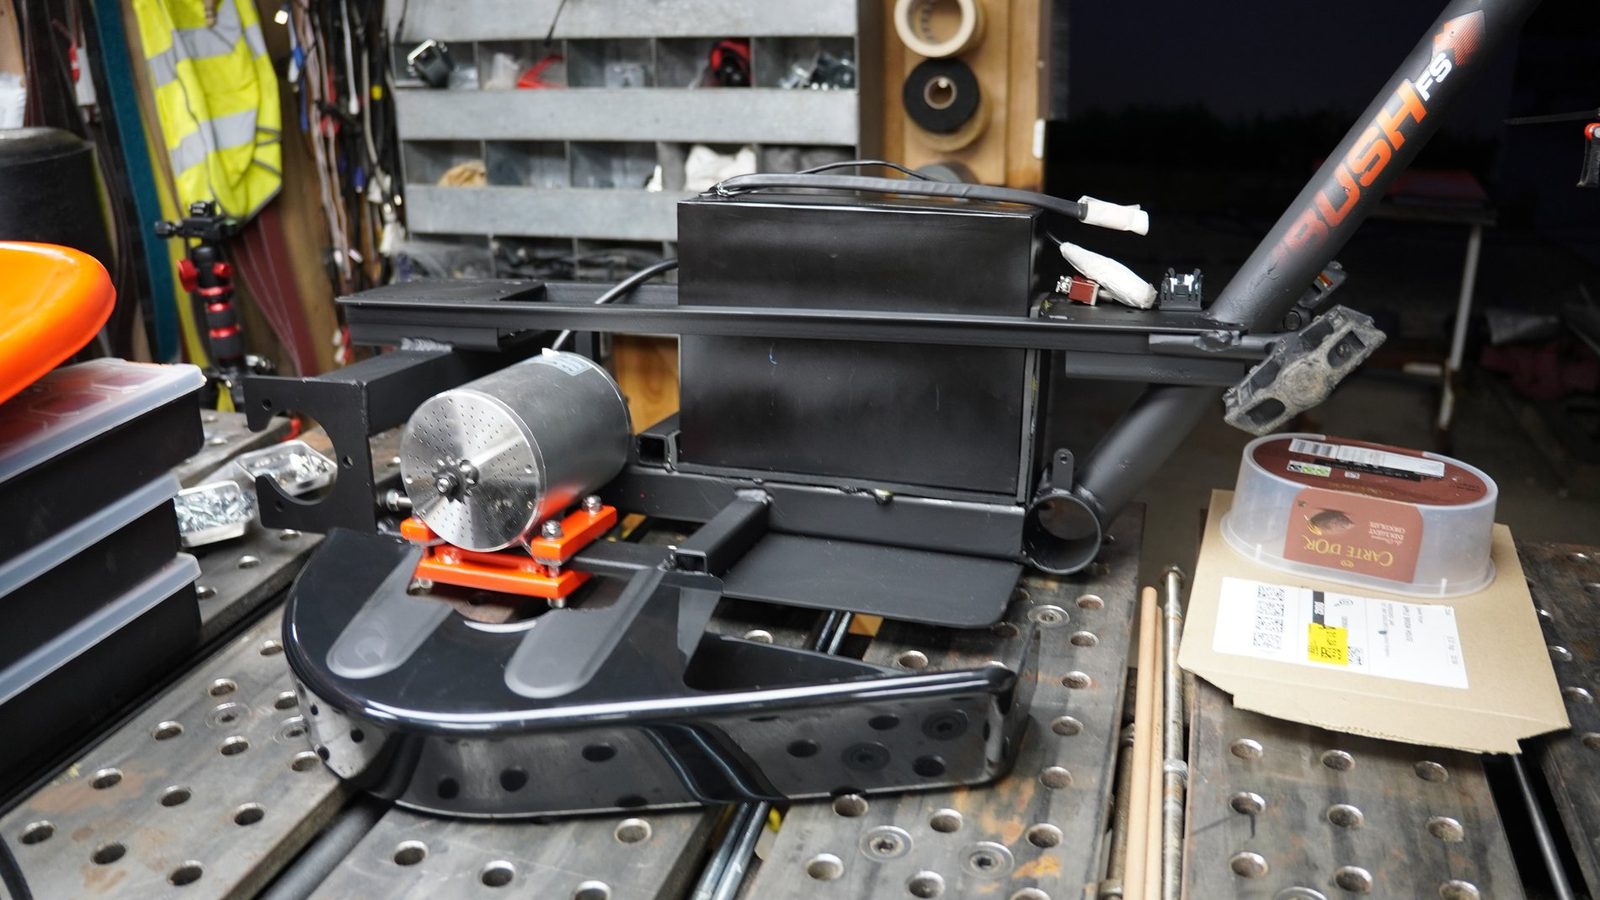
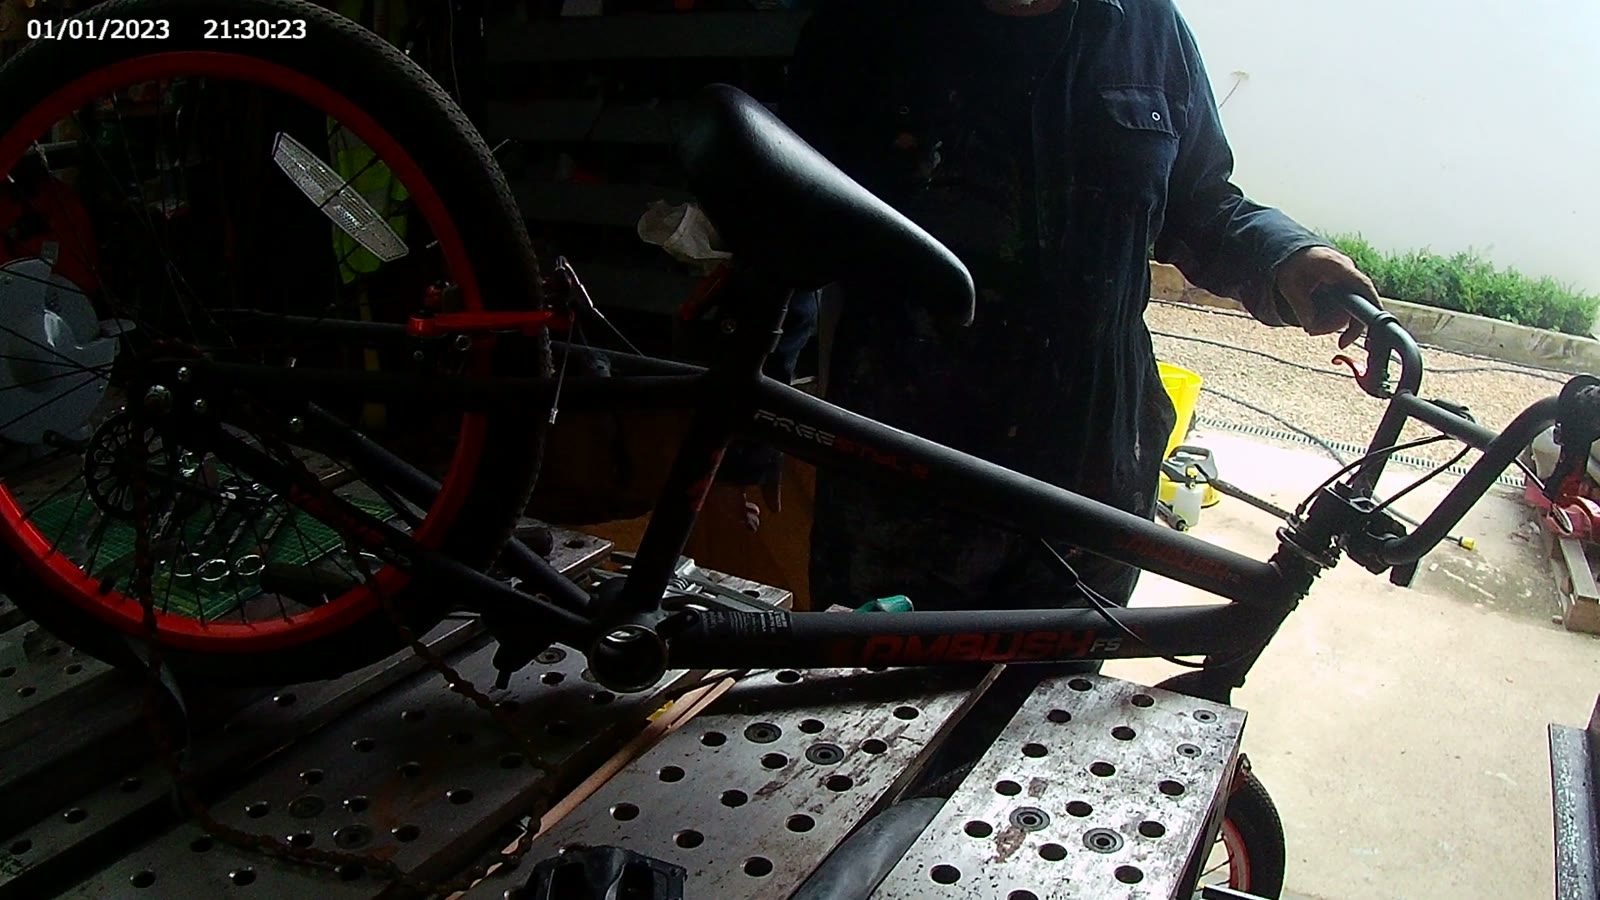
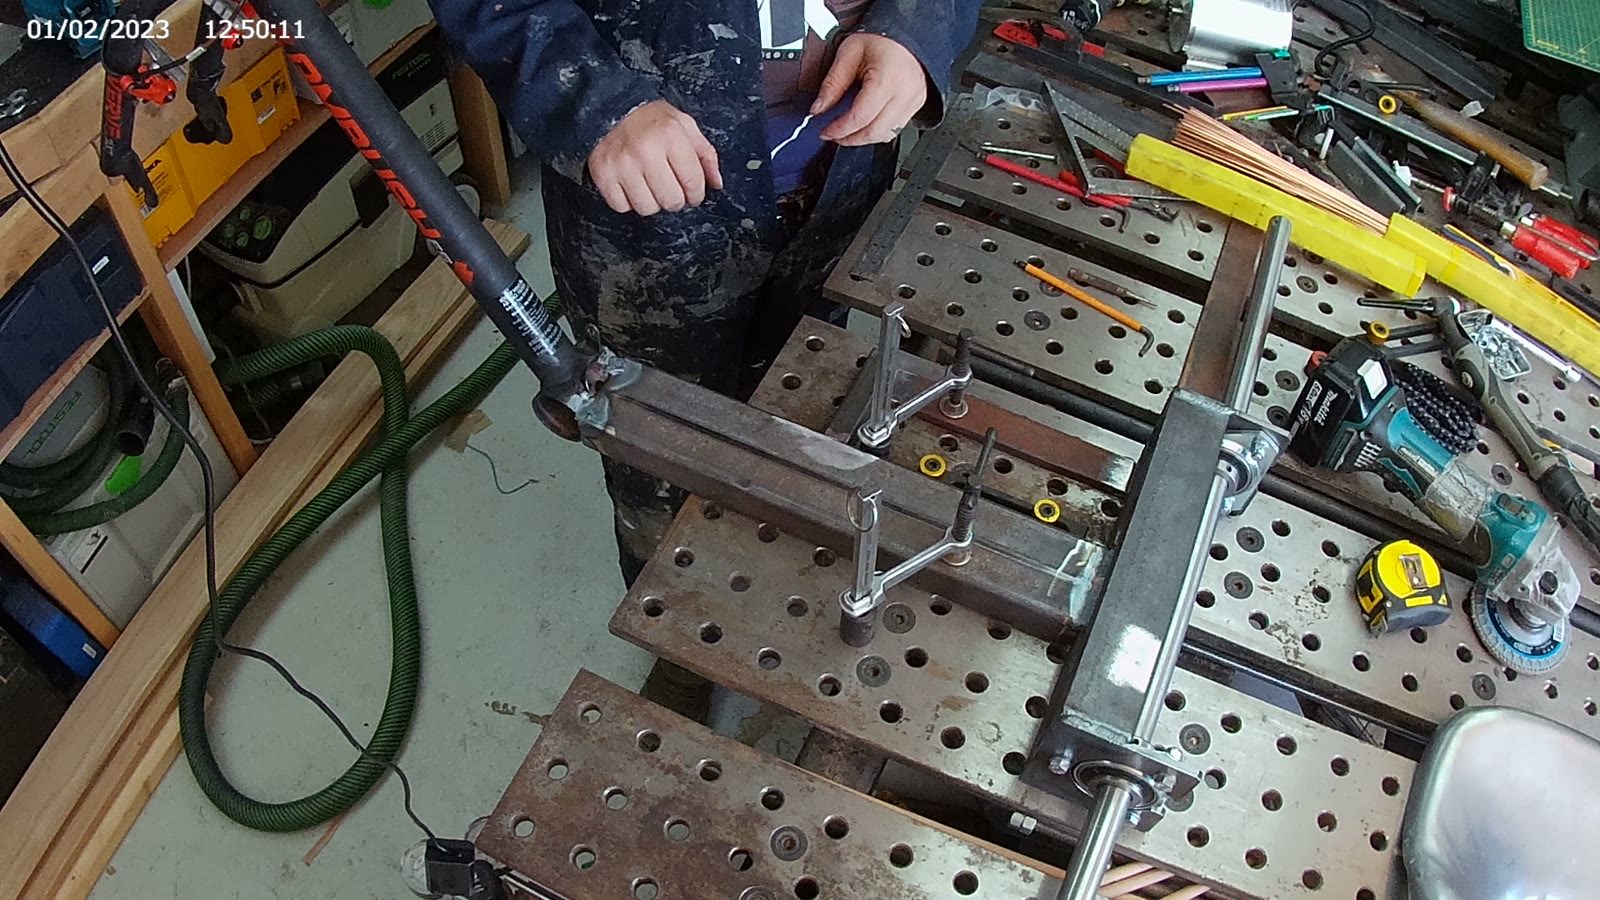
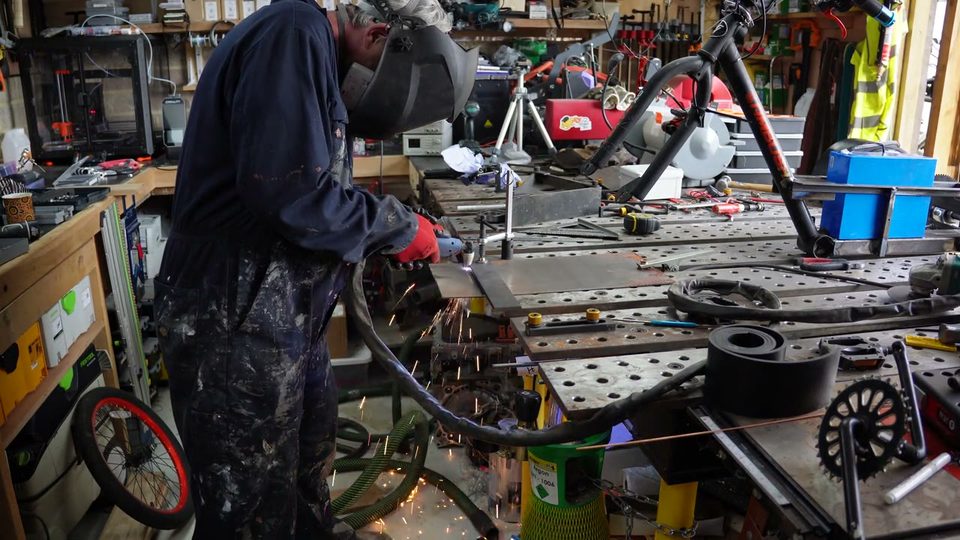
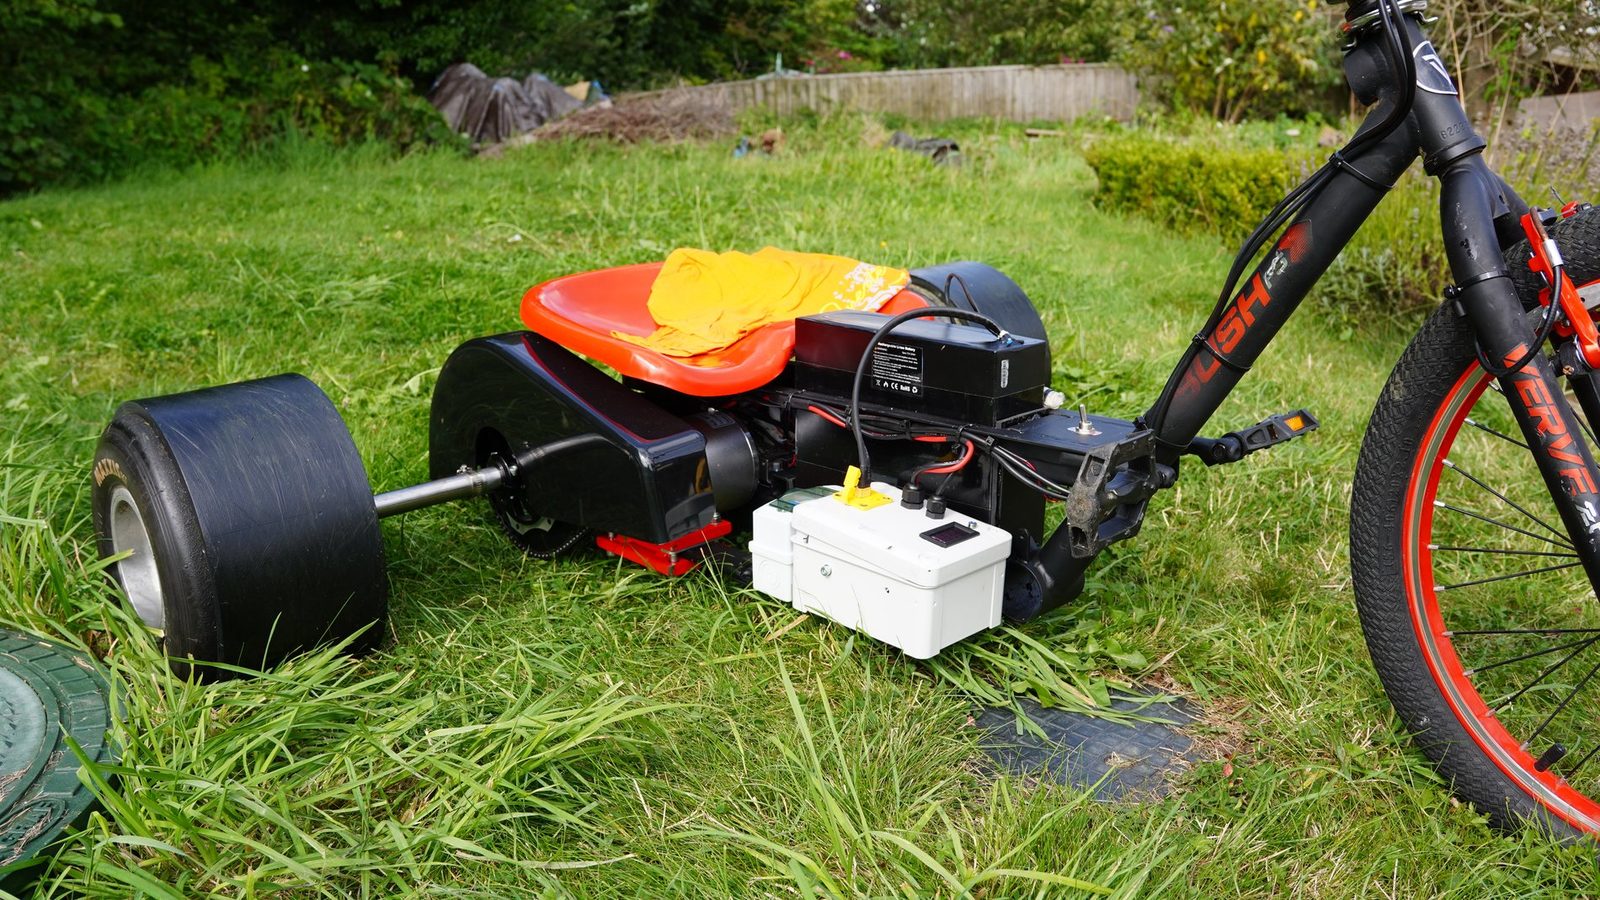
- The front end is an old BMX, cut up and reused. Everything behind it is steel box section and angle, welded up in the workshop.
- Motor and drive
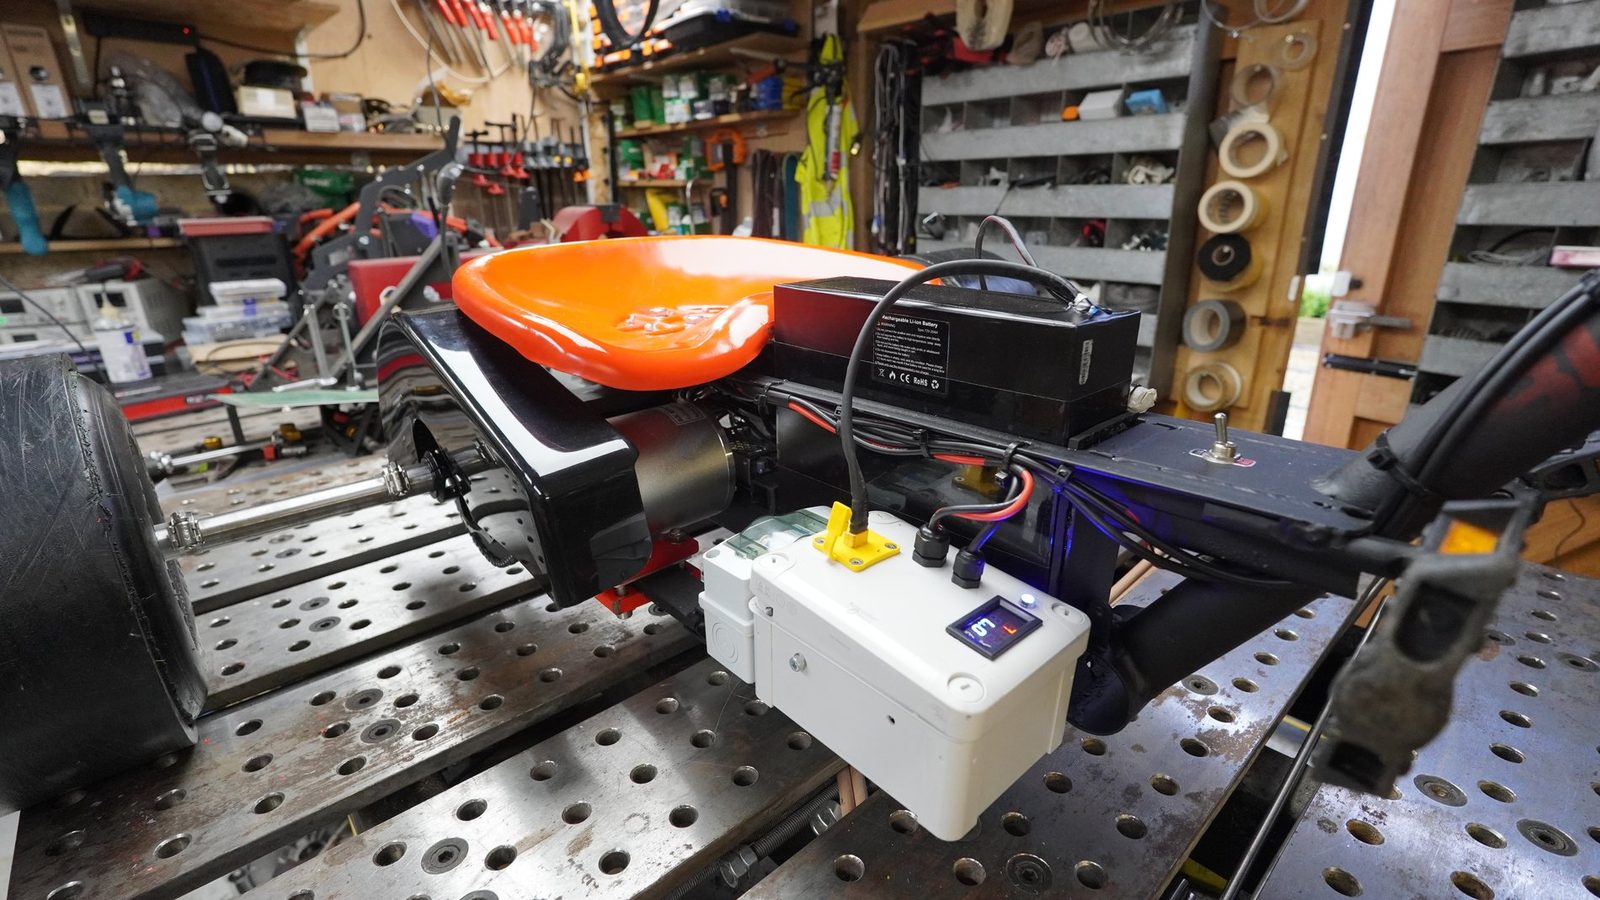
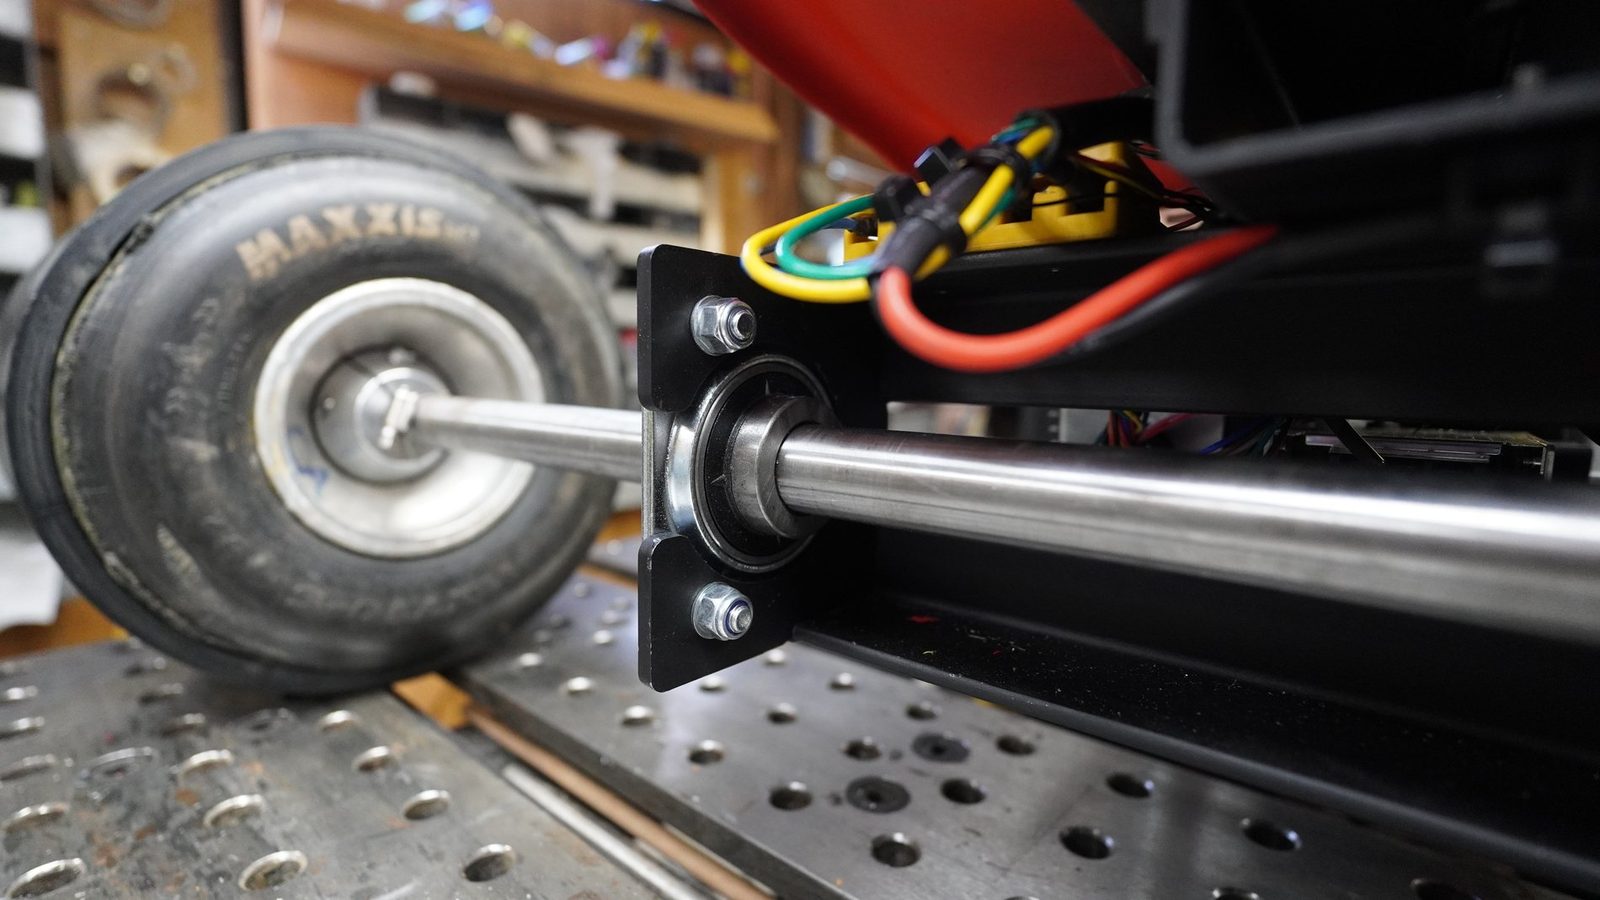
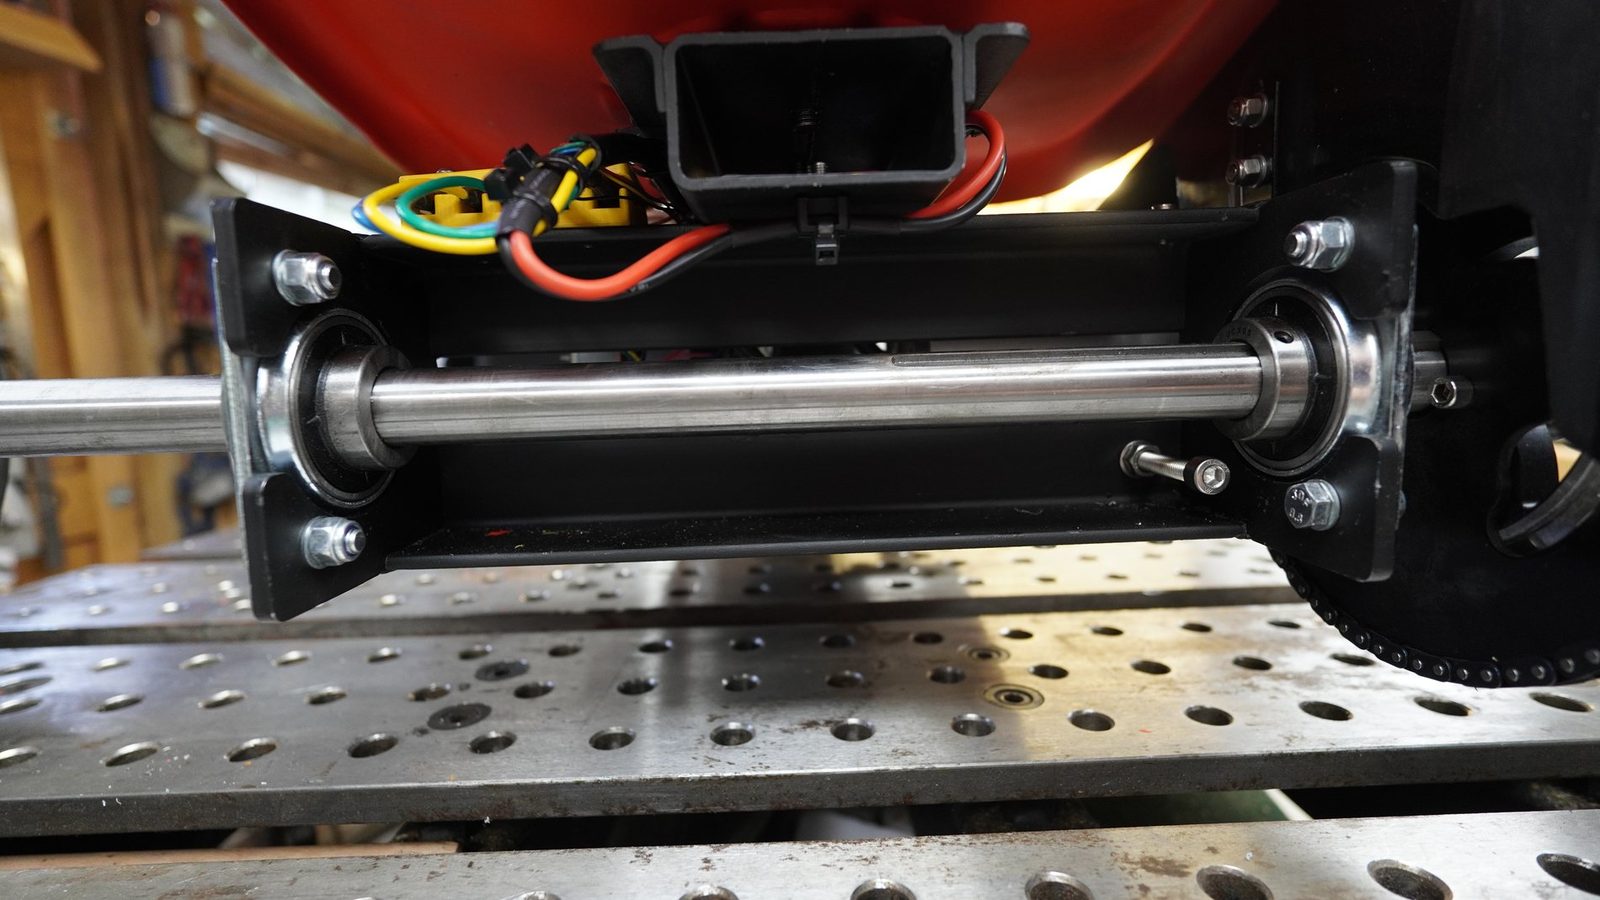
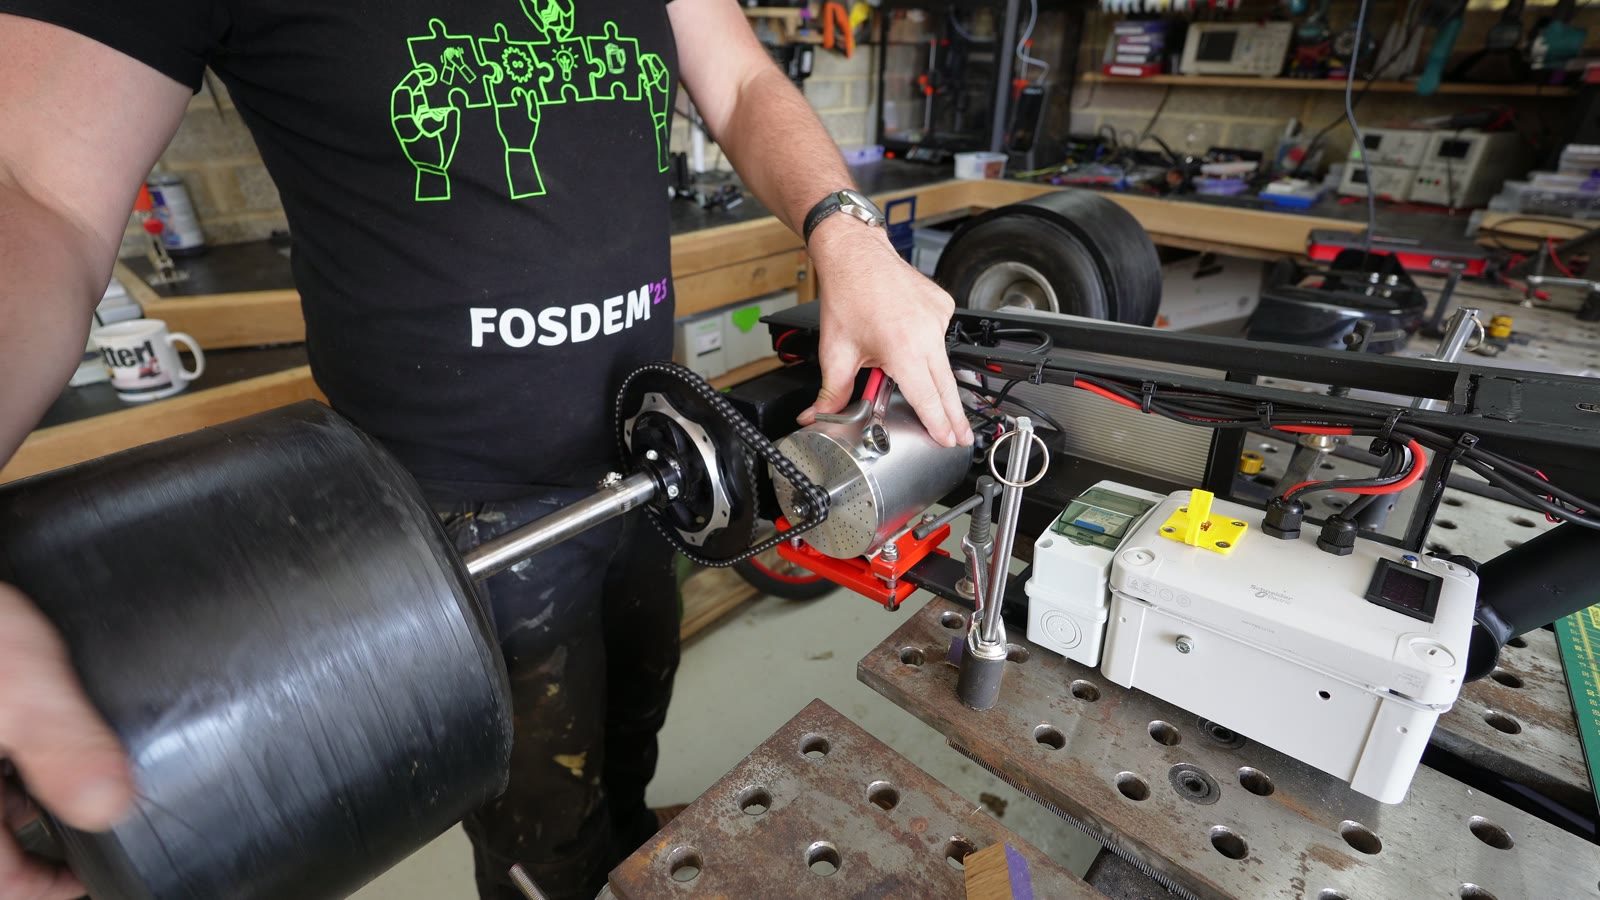
- A 3000W brushless DC e-bike motor kit, chain drive to the rear axle. Rated to 6600rpm, so geared it works out about 35mph but lots of torque.
- Controller and battery
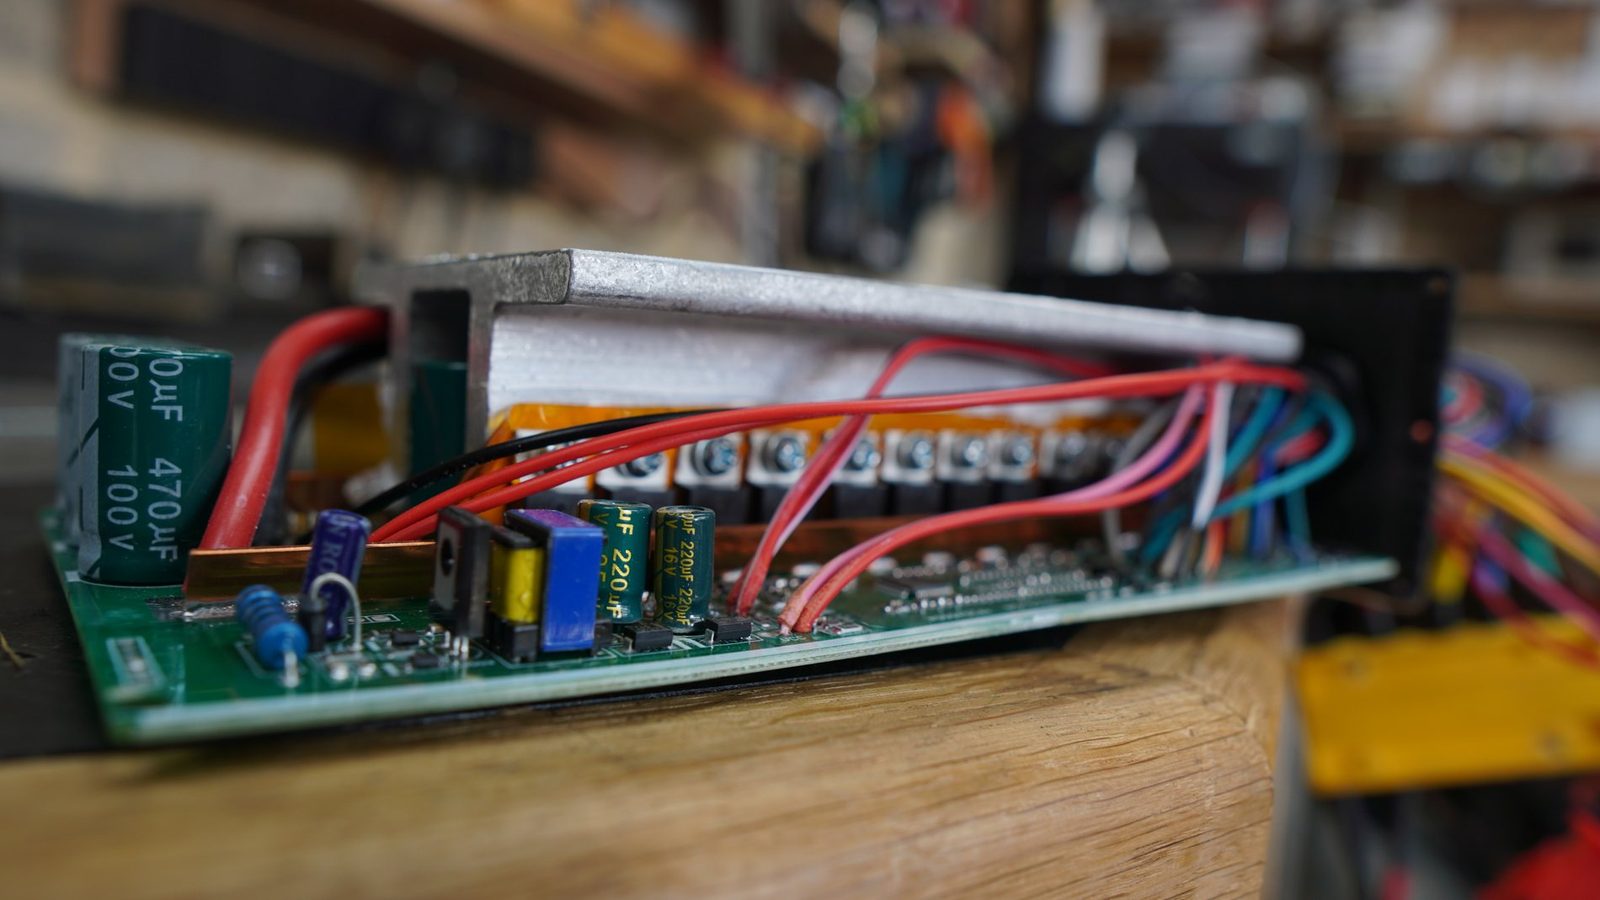
- 72V 20Ah lithium pack with the kit’s matching brushless controller. The main isolator is a 125A two-pole DC miniature circuit breaker — a proper DC-rated breaker, thirteen pounds, which is the best-value part on the trike.
- Wheels and tyres
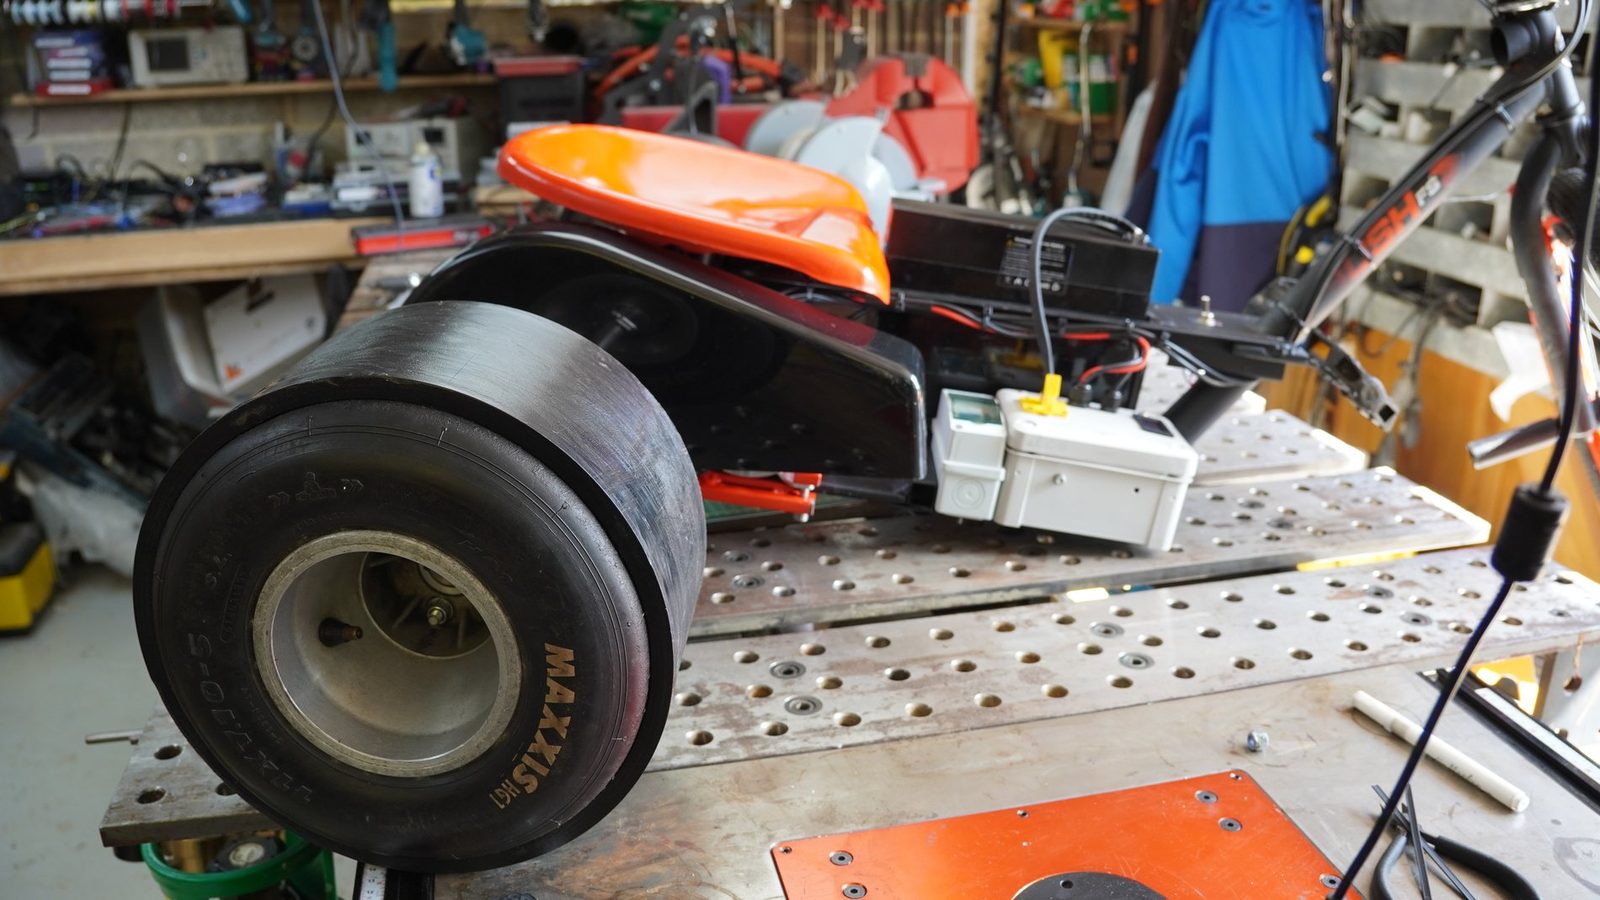
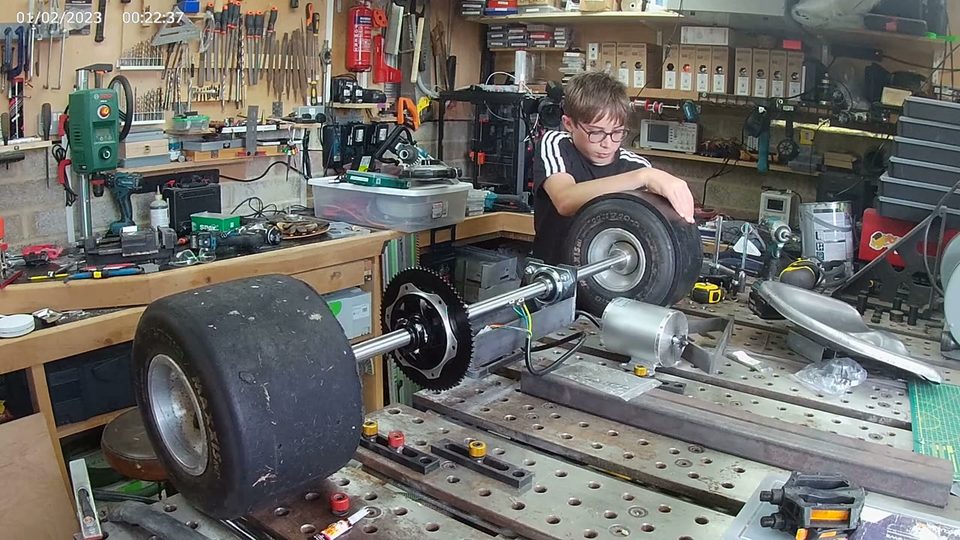
- Go-kart wheels at the back with PVC pipe sleeved over them. The whole trick is having no grip at the rear and all of it at the front. It's tricky to find the pipe though
- Build time
- A few weeks across the summer holidays, built with the kids.
- Cost
- £399 for the battery, £180 for the motor kit, plus steel and small parts. The donor BMX was already scrap.
What went wrong
A big problem is where you put your feet. The instinct when trying to stop is to put your feet down and I can see that would lead to breaking an ankle. Needs some thought.
What I would change
Build a proper foot platform across the front, so there is somewhere obvious and comfortable for feet to go and no reason to reach for the ground. Everything else can stay exactly as it is. It is definitely fast enough!
Payoff
The acceptance test
Go, turn, slide, and smile.
Learning
Tapping a thread
First signs of life
Motor electronics on the bench
Motor, chain, controller, wiring and display, run together on the bench.
Wiring
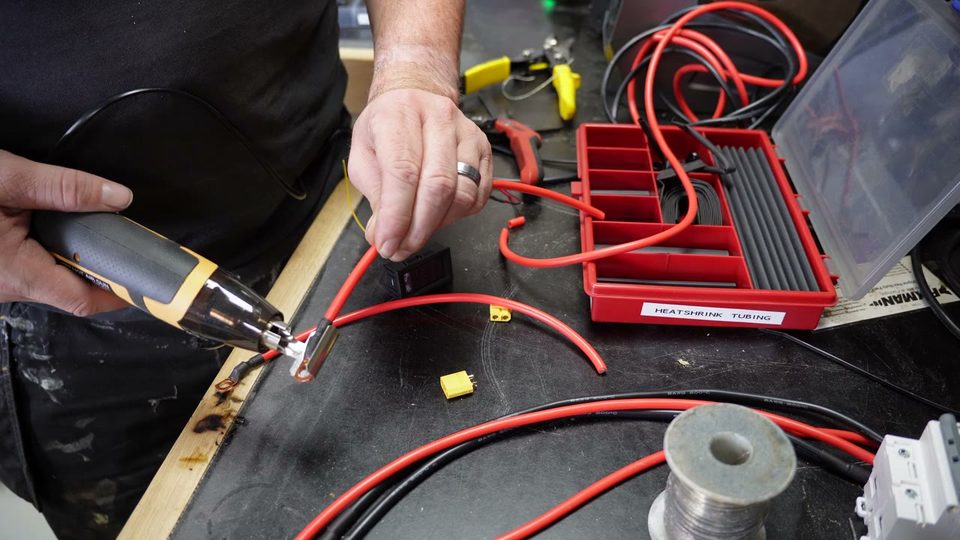
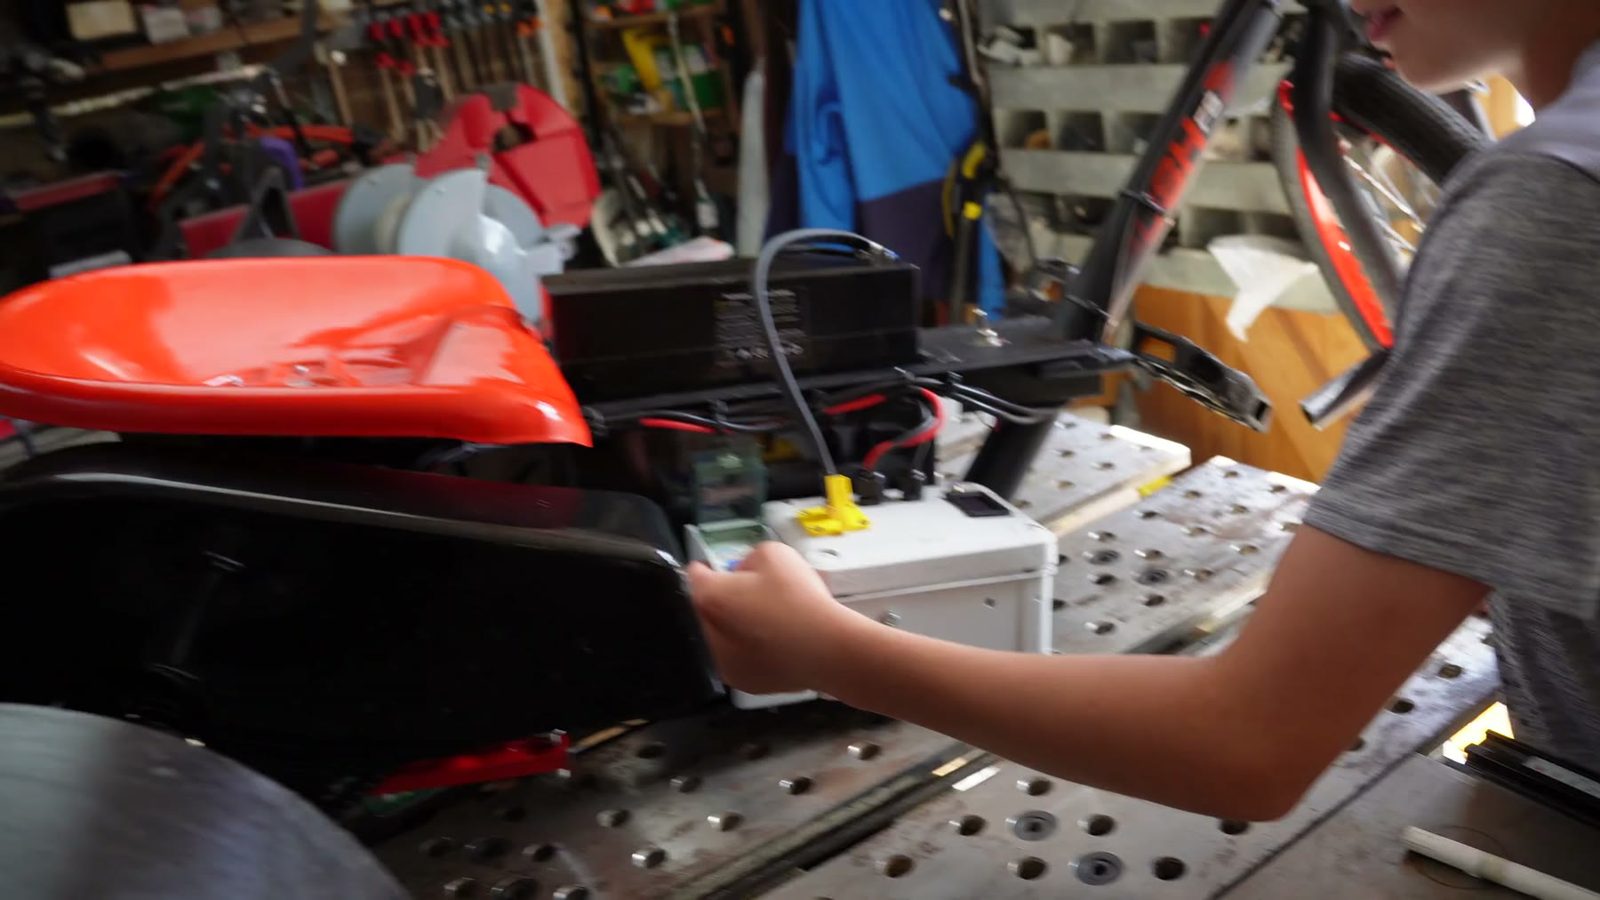
Making up the high-current wiring
Controls
Bench-testing the control box
Green welding
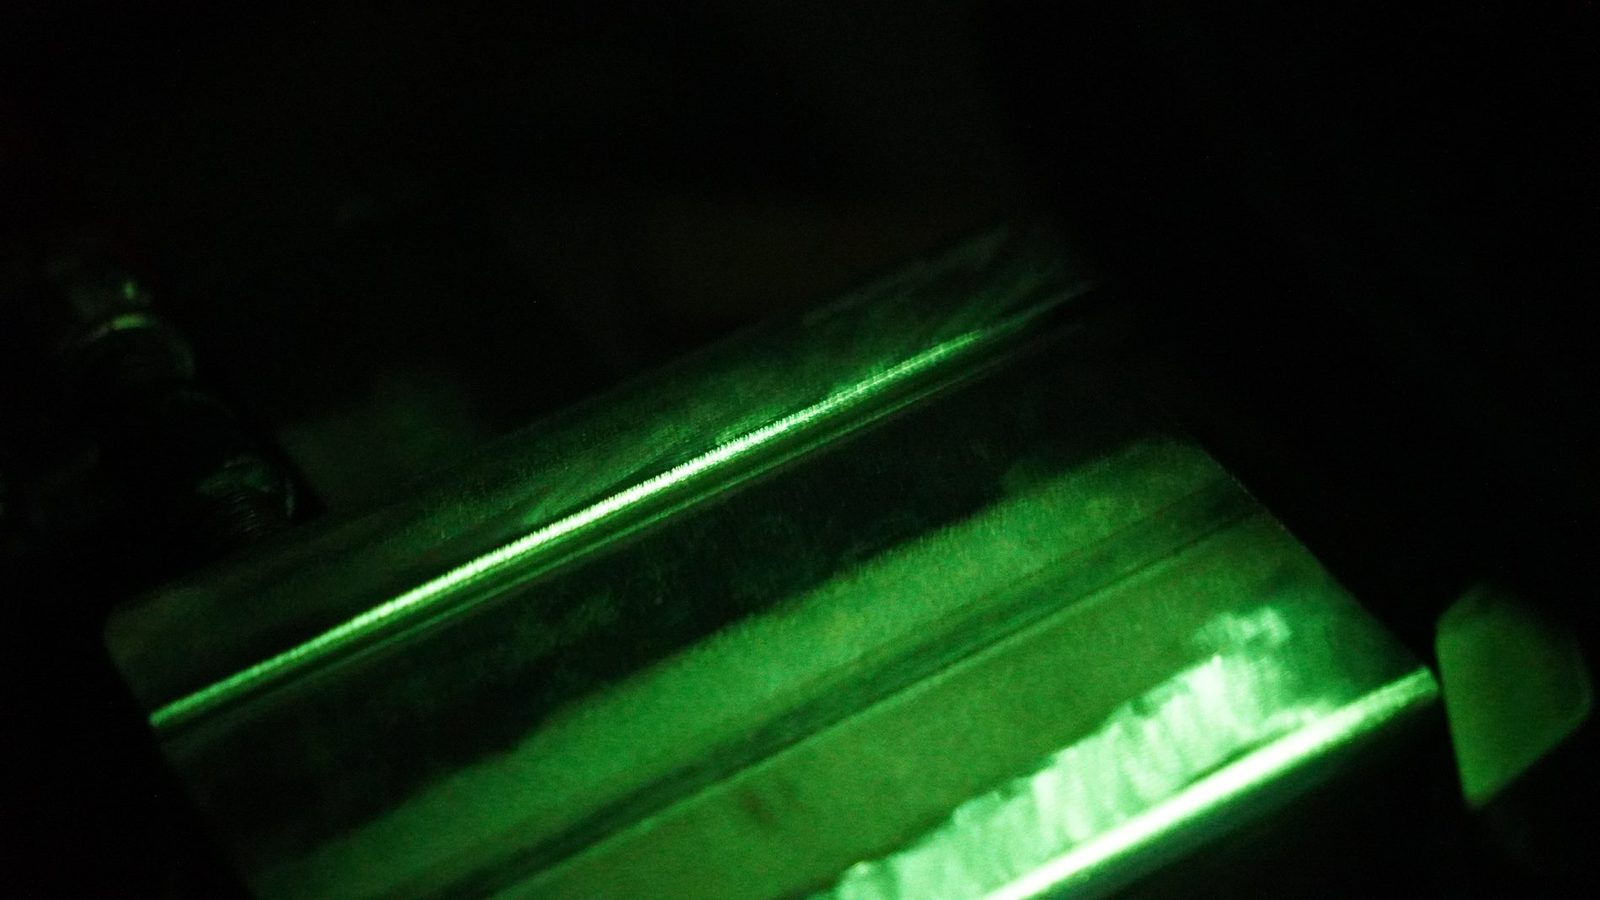
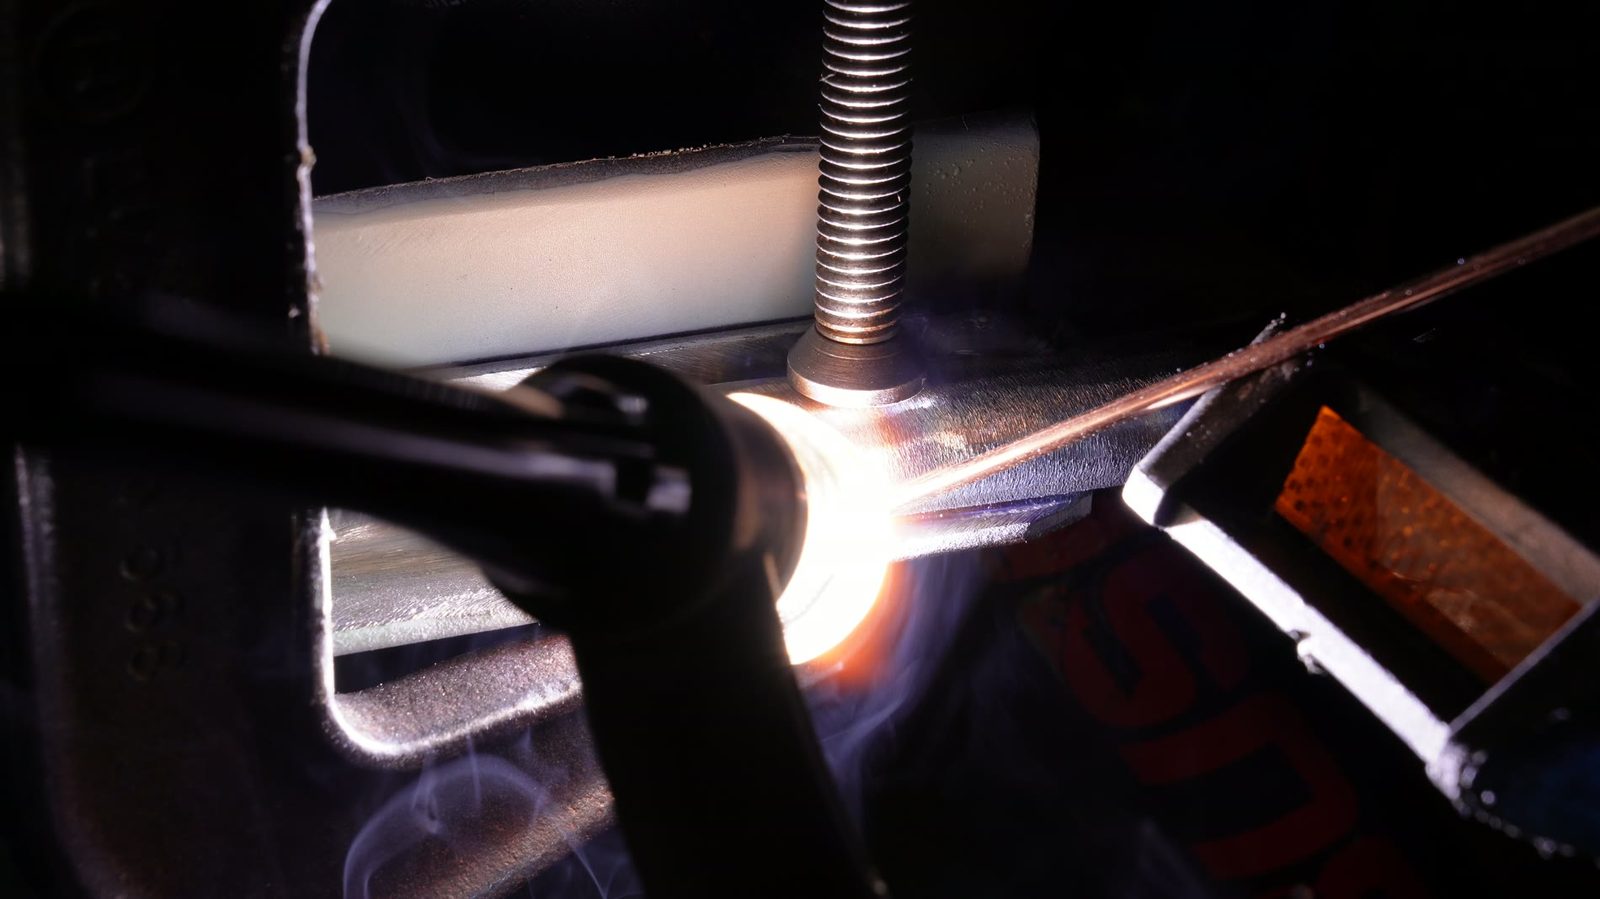
What the welder actually sees
Shot through the fixed grade 10 welding filter - so we can see the arc, puddle and filler rod at once. Puddle size, travel speed, how far ahead of the bead you look. Comments are disabled :)
First pass
Seen through the filter
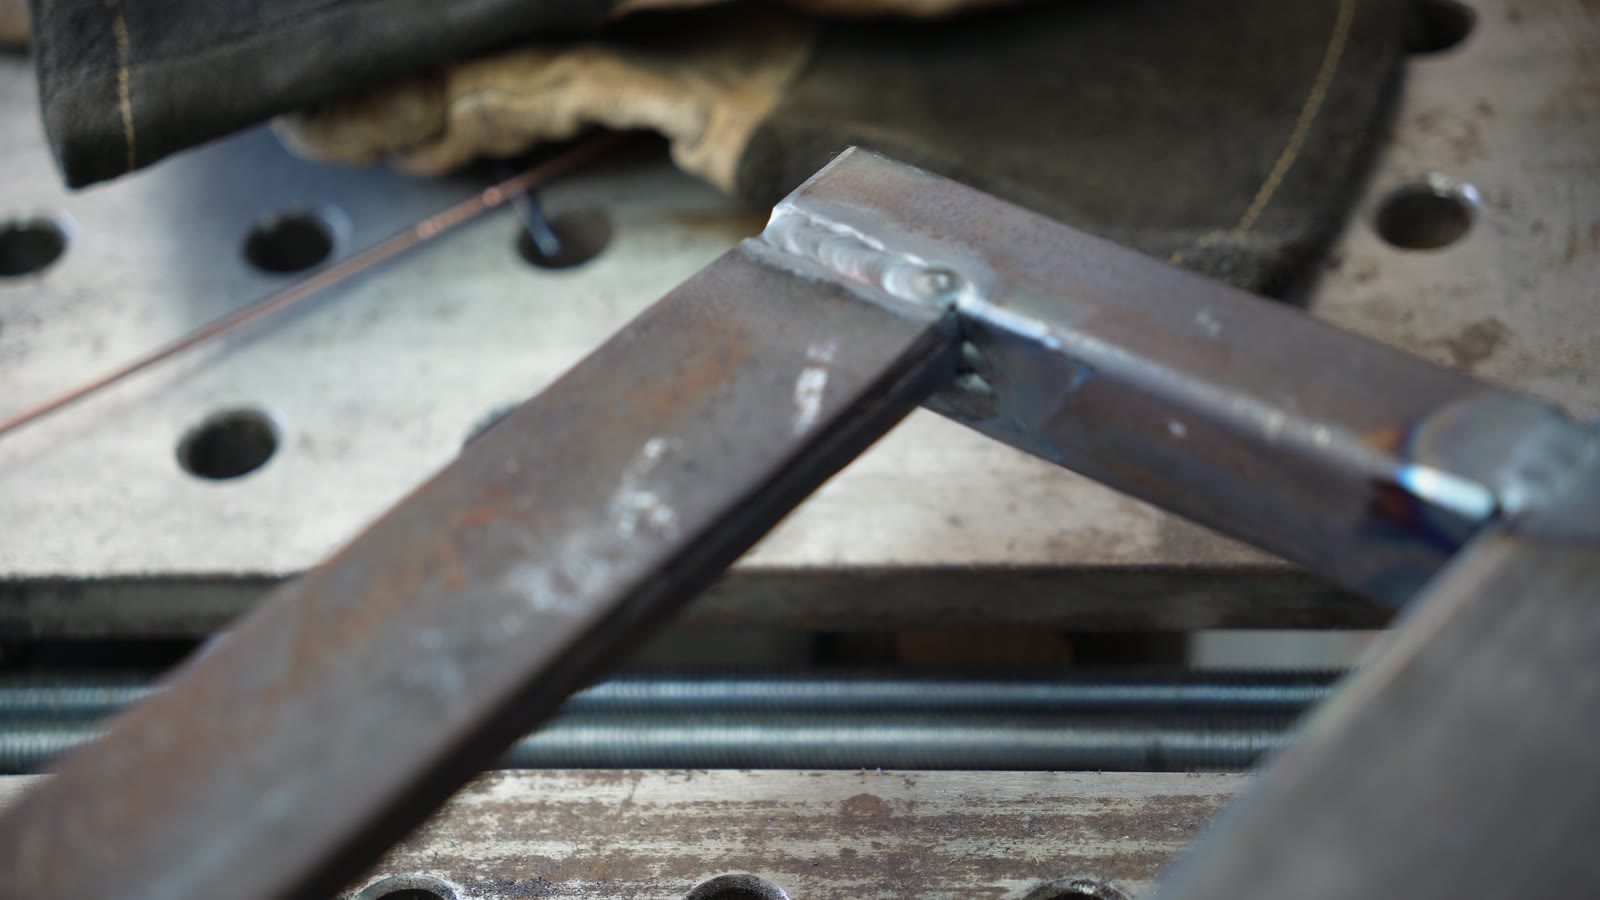
Close bead
A tighter, slower pass
Another pass
Small, hot, slightly hypnotic.
Wide welding
Welding, wider shot
Plasma cutting
Cutting the frame
Motor mount
Needs to be strong and adjustable.
Getting the chain tension right.
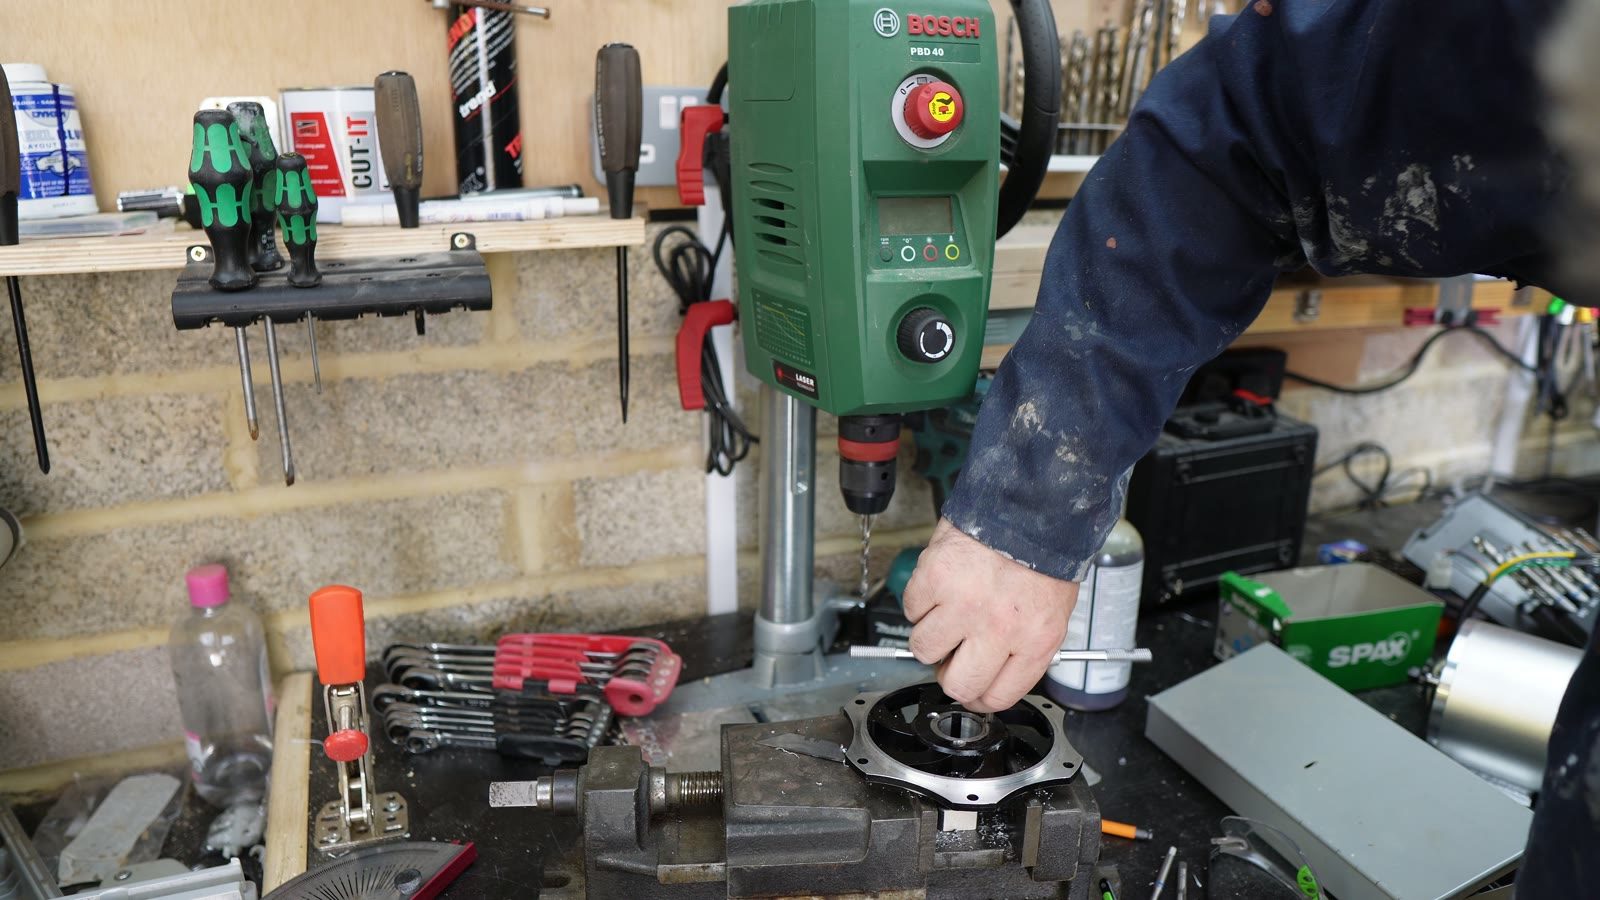
Drilling
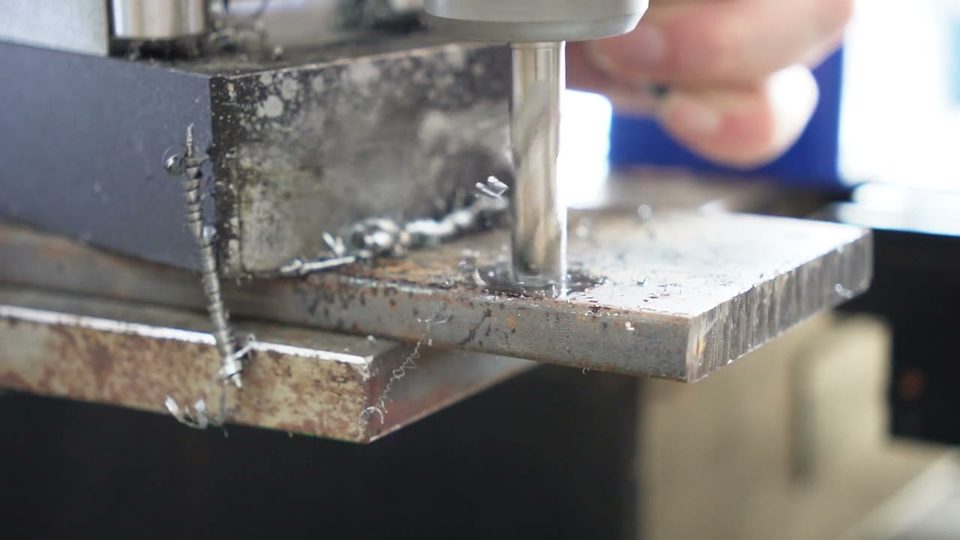
Slow motion swarf.
Belt sander
Deburring the bracket edges
Detail
Clean holes for the mount bolts
Drive end
Motor and axle assembly
Assembly
Gluing Rubber on the frame to protect the battery
Walkaround
The finished machine!
Parts
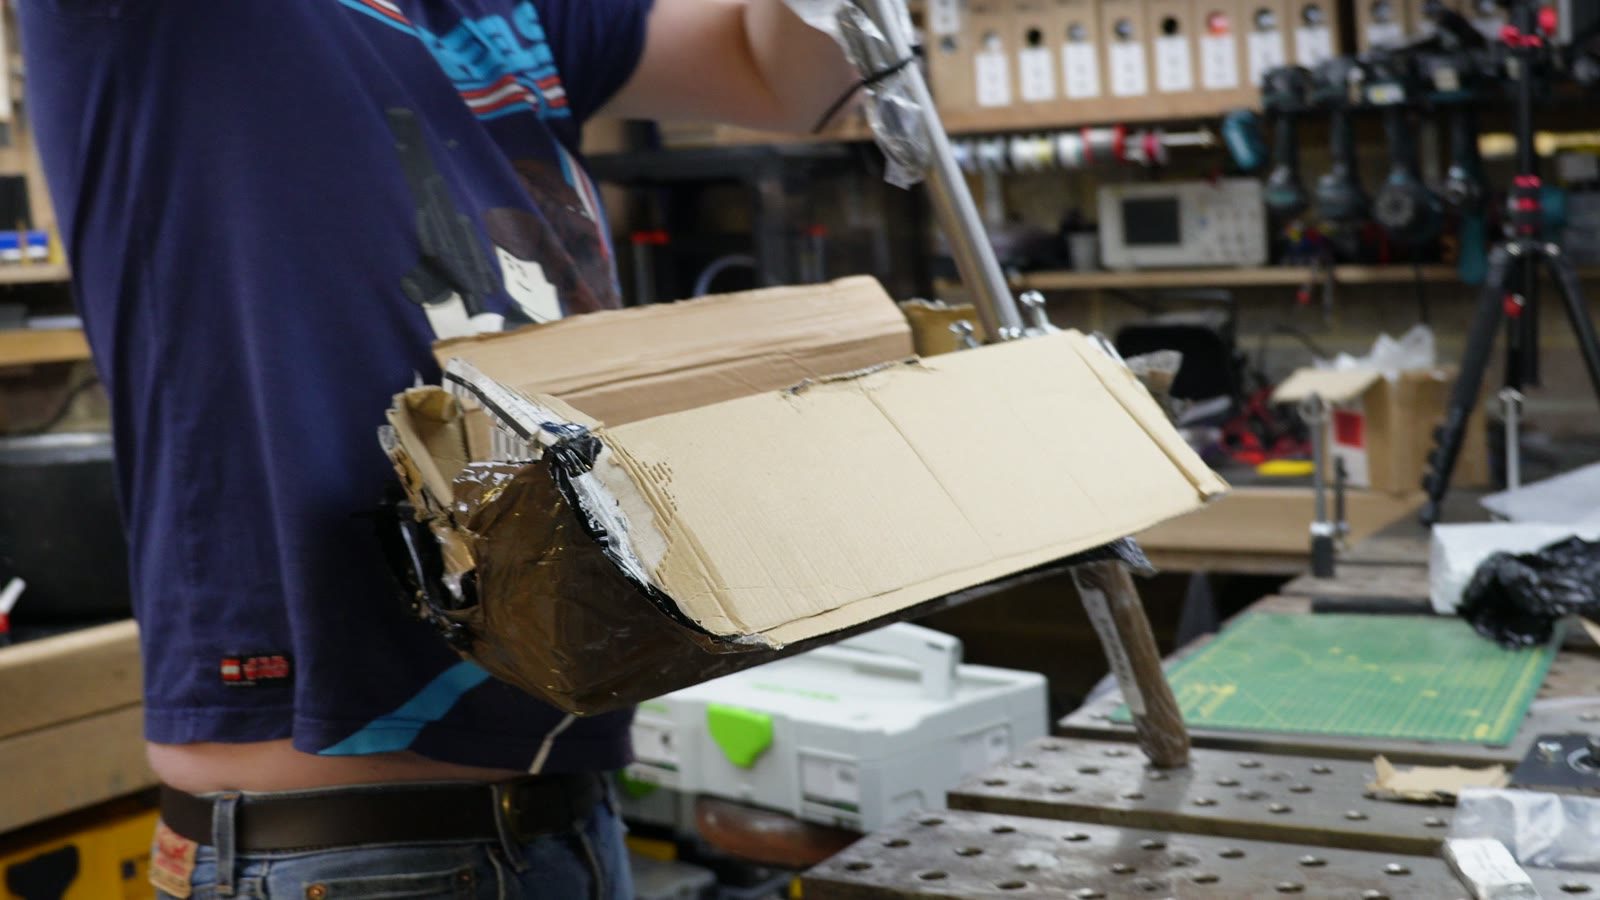
Unboxing the useful bits
Layout
Frame on the table
Tiny camera
A very mechanical point of view
Testing
Another run across the grass